We were getting quite comfortable building our rustic farmhouse hallway/ console tables so when a new customer asked if we can build a larger version of our console table with 4-drawers we were excited to accept the challenge.
This would be the largest project we've done in our Dusty Workbench shop to date.
Now we are getting into building some substantial furniture. If we can do a good job with this piece we know we can build anything in this workshop.
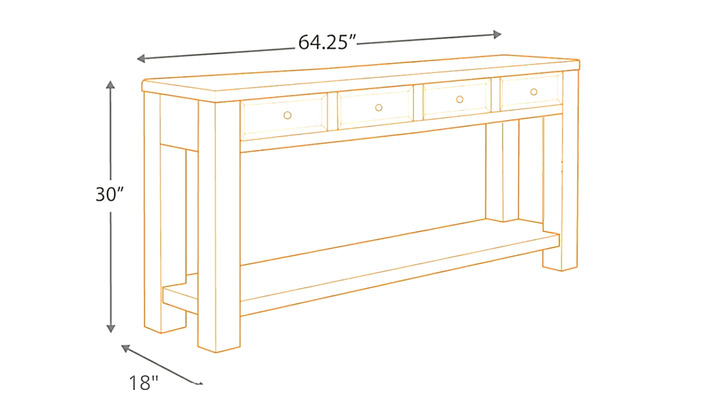
The project started with our customer providing us with her preferred dimensions.
We communicated back and forth in regards to the overall plan and color to come to an agreement where she was happy with the look and price.
How We Built It
Design and Dimensions
The customer sent us a sketch of the console table but we modified the dimensions a little.
Preparation
Materials
- Pine Wood -we used rough cut pine lumber but you can use any grade to save on prep time. 1" x 12" x 96" -> 6 Boards
- Pocket Hole Screws
- Wood Screws
- Wood Dowels
- Wood Glue
- Chalk Paint
- Dark Wood Stain
- Chalk Paint Wax or Wipe-on Polyurethane
- Handle/Hardware
Tools
- Table Saw
- Mitre Saw
- Drill
- Pocket Hole Jig
- Clamps
- Planner
- Router
- Orbital Sander
- Paint Brush
Cut List
Top
Amount
Dimensions
1" x 6" x "52 1/4"
1" x 6" x "64 1/4"
1" x 6" x 18"
Legs
Amount
Dimensions
1" x 3" x 29"
Lower Shelf
Amount
Dimensions
1" x 5" x 60 1/4"
1" x 5" x 50 1/4"
1" x 5" x 15"
Apron
Amount
Dimensions
1" x 6" x 10"
1" x 6" x 56 1/4"
1" x 2" x 56 1/4"
1" x 2" x 4"
Drawers
Amount
Dimensions
1" x 4" x 12 3/4"
1" x 4" x 12 3/4"
1" x 4" x 12"
1" x 4" x 12 3/4"
1/4" x 12 1/2" x 13 1/4"
Steps To Building The Console Table
We started with the legs. In the image we used 2" x4" but in future builds we will use 1" x 3" boards to make 3" x 3" legs.
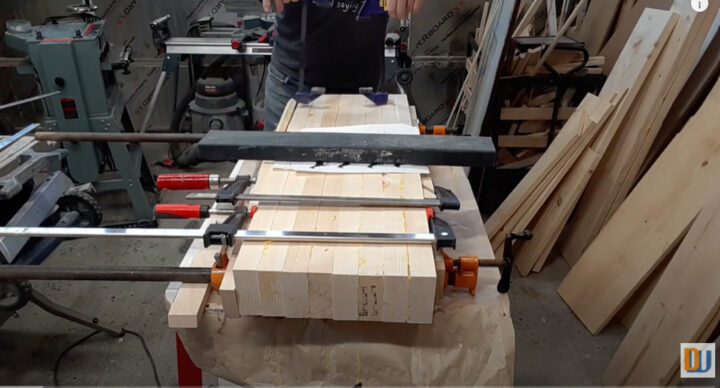
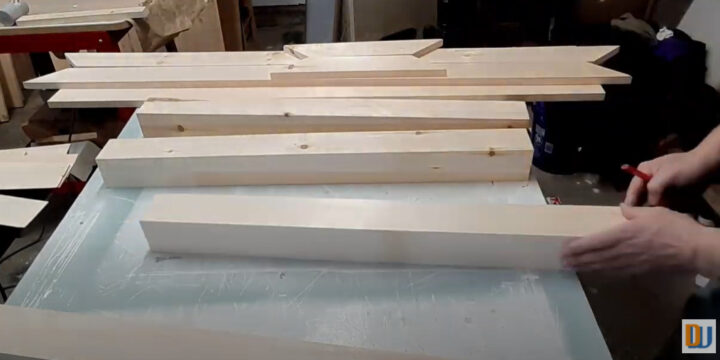
We then moved on to building the top. The edge boards had mitre angles to make a frame type shape with mitred pieces at the ends, one straight cut piece down the centre. We used pocket holes to join the pieces to make the process faster.
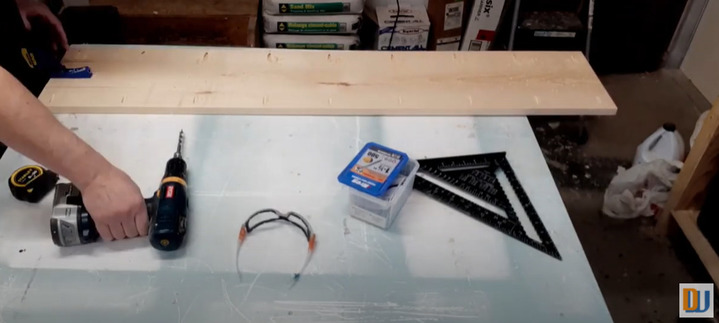
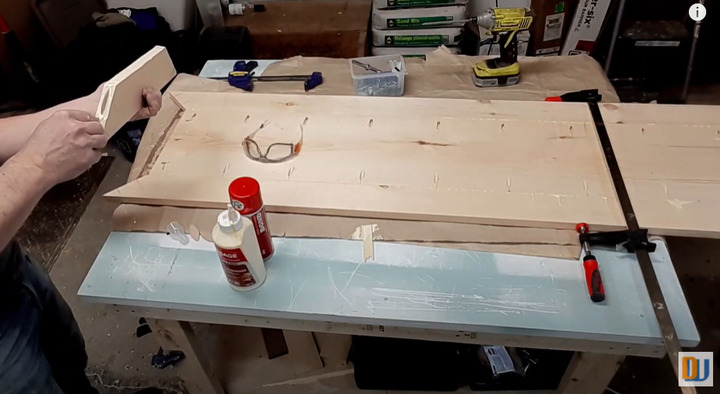
Next, we start assembling the legs and apron to the top using pocket hole screws to attach everything together. You can also use z-clips but we use pocket holes and just enlarge the the pocket holes to allow for expansion.
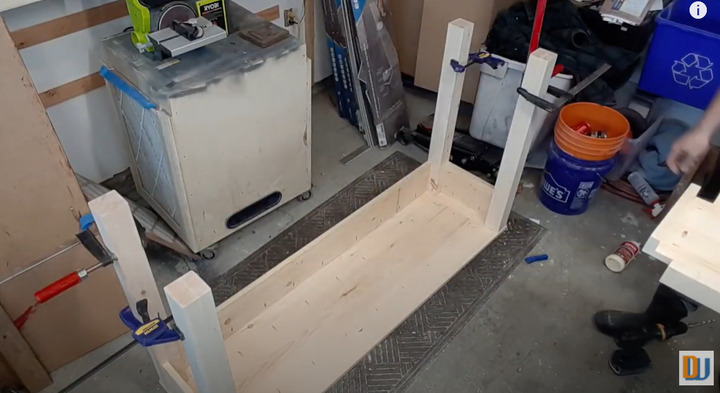
The legs and apron attached we can proceed to attaching the lower shelf, using clamps to set the height.
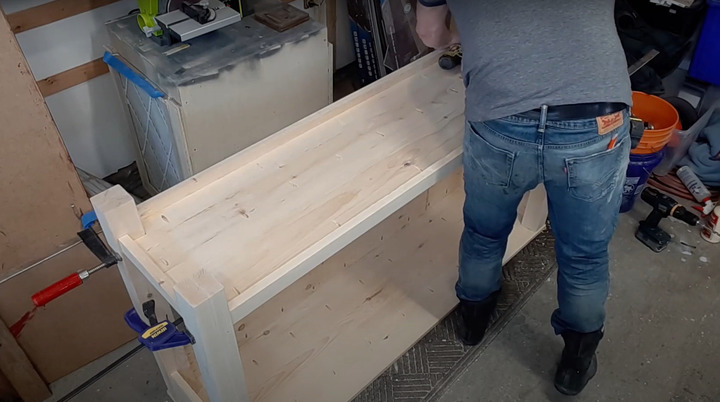
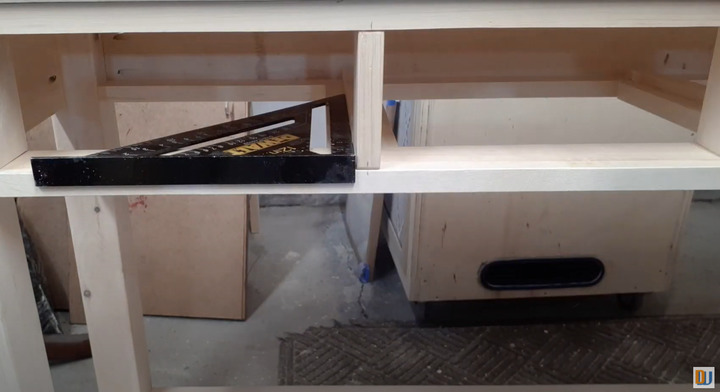
Next we add the front openings for the drawers. The drawers are going to be on wood sliders.
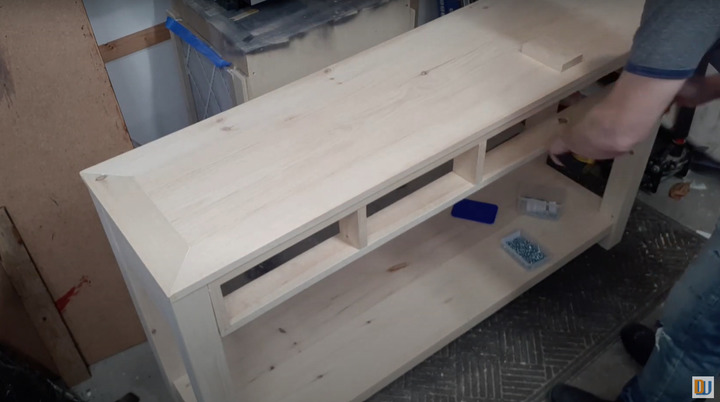
With the drawer openings in place it's time to make the drawers themselves.
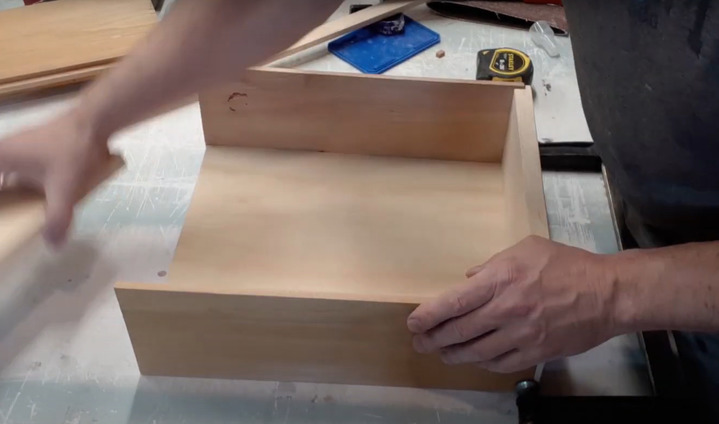
Once the drawers are built we add the wooden sliders into the table.
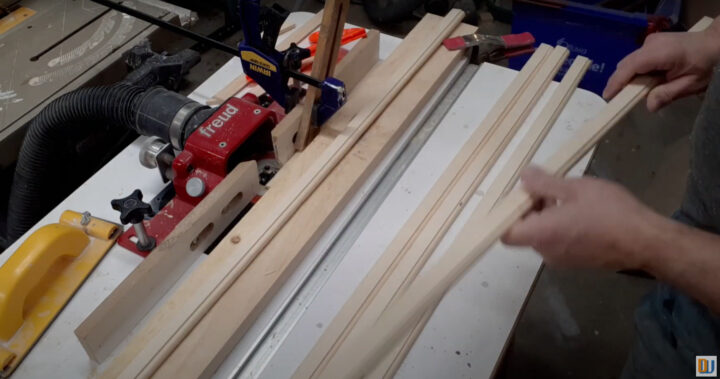
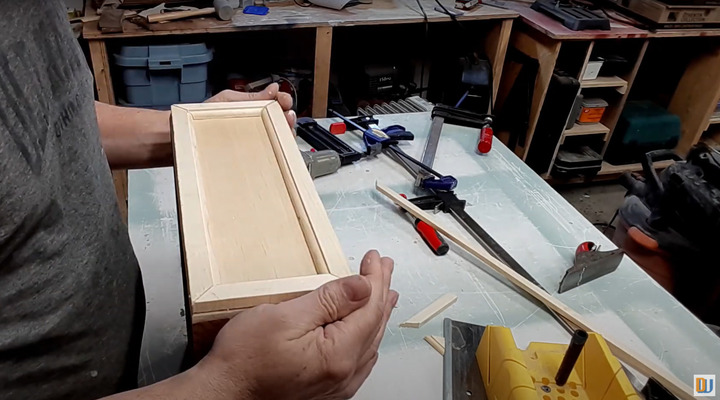
We decided to add a trim around the drawer fronts so we used the router table to make our own trim.
Adding a spline trim accent to the table top. We used the router to make a groove then we glued a wood spline piece and sanded it down flush.
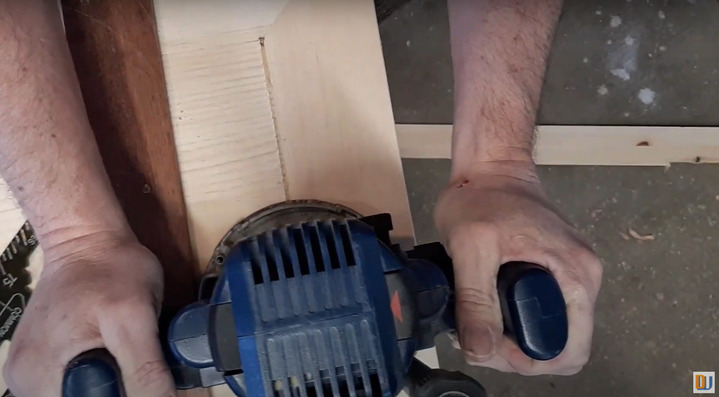
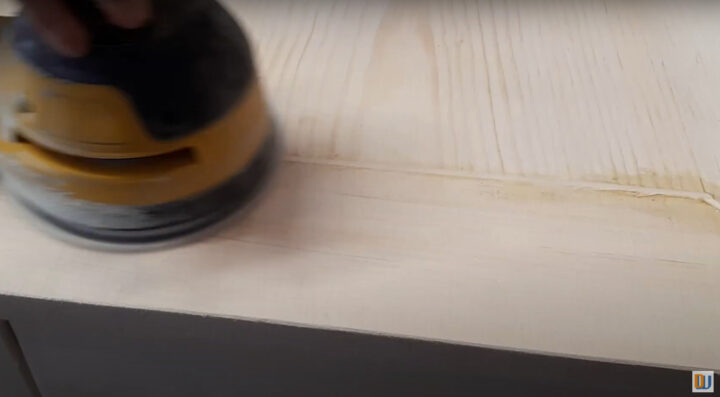
We sanded everything down to 120 grit and make sure that everything fitted properly before painting and staining.
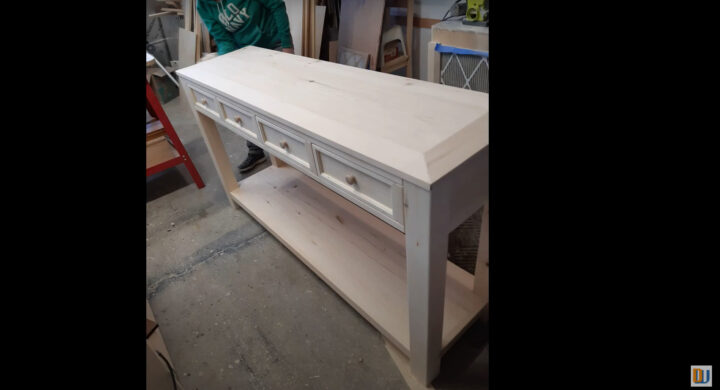
It's time to start staining and painting.
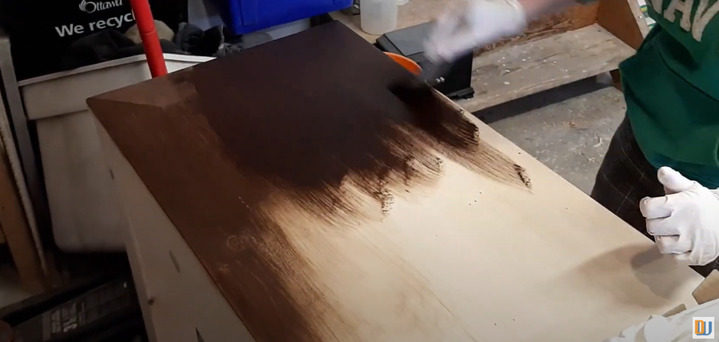
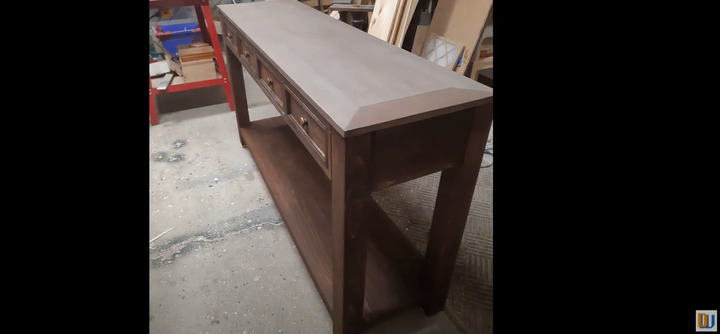
We stained the whole table brown so that we can do antiquing of the cream color paint on the lower part of the table.
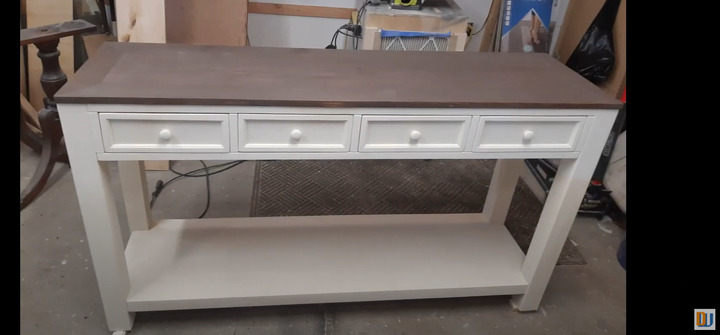
We painted the lower part with cream colored homemade chalk paint.
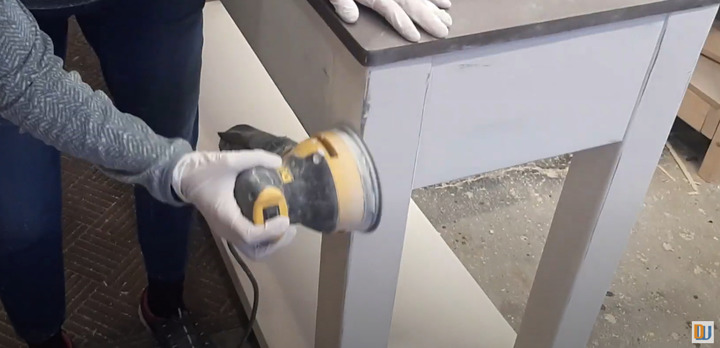
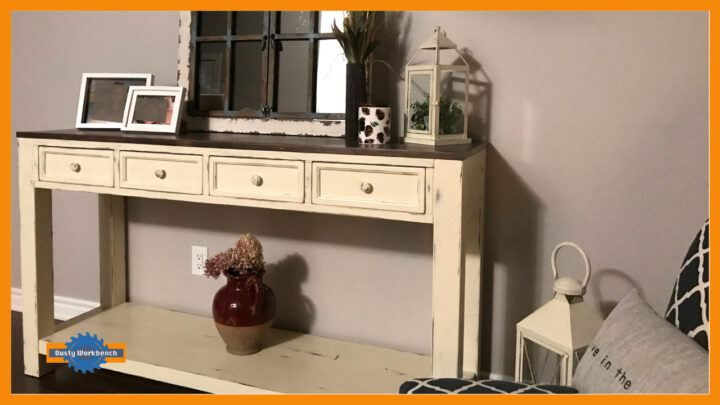
Once the paint is dry we can sand it down in some areas to make it look like old paint.
We hope you enjoyed this article.
If you have any comments or questions please leave them below.
Please check out our YouTube channel for walk-throughs of our projects.
Cheers
Paul and Brenda
