Coffee Table
A classic shaker style but finished as an antique white coffee table will be sure to fit in many home decor.
With its four drawers you'll be able to hide those troublesome remote controllers and other little things like playing cards that you would otherwise have hanging around.
The lower shelf can prove useful for storing magazines or an extra blanket or two.
It would be ideal to use reclaimed or re-purposed wood for this project but we ended up using newly cut wood.
We used rough cut wood that ended up needing to be cleaned up and sanded to the smoothest finish we could make with our limited tools.
In the end, it looked amazing and we don't look forward to parting with it once we put it up for sale.
This project started when we were walking through the mall and came across a store with furniture that was made with reclaimed wood.
We were impressed with the craftsmanship and designs but did not like the prices so much.
Once we returned home we started designing our own take on some of the furniture that they had and reviewed whether we can sell it cheaper and still make a profit.
The truth was in the numbers and we decided it would be profitable at a considerably lower price as we don't have as much overhead such as the rent for that store in the mall.
Now that we knew the numbers are working, we went to designing.
How We Built It
Design and Dimensions
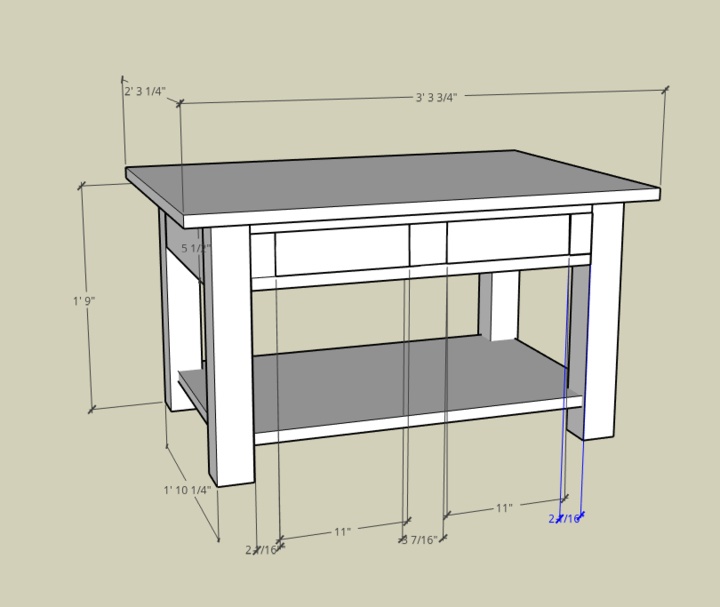
We started by drawing some rough sketches on paper, then we later designed it using the free Sketchup version to have an amazing looking 3D rendition of the table.
Now that we had a plan, we started looking at our pile of wood from past projects but nothing would meet the needs for the major components of the table.
So we decided to head out to our local lumber yard to get some wood to build this table.
The local big box store had some great looking rough cut pine wood that was 1" thick at a reasonable price...so we loaded up the van and headed home to start building.
Preparation
Shopping List
- 3- 1" x 12" Boards, 8 foot long
Note: Lumber size listed is in nominal sizes. Learn more about Nominal vs. Actual sizes here.
Materials
- Pine Wood -we used rough cut pine lumber but you can use any grade to save on prep time.
- Pocket Hole Screws
- Wood Screws
- Wood Dowels
- Wood Glue
- Chalk Paint
- Dark Wood Stain
- Chalk Paint Wax or Wipe-on Polyurethane
- Handle/Hardware
Tools
Must Have Tools
- Safety Glasses
- Ear Protection
- Dust Mask
- Sandpaper
- Drill
- Tape Measure
- Square
- Circular Saw
- Paint Brush
Advanced Tools
- Compound/Miter Saw
- Table Saw
- Pocket Hole Jig
- Dowel Jig
- Impact Drill
- Orbital Sander
- HVLP Paint Sprayer
- Joiner
- Planer
Cut List
- Top
- 2 -1 x 12 x 39 3/4"
- 1 - 1 x 3 1/4" x 39 3/4"
- Legs
- 12 - 1 x 3 x 21"
- Shelf
- 2 - 1 x 10 1/2 x 34 1/4"
- Drawers
- 2 - 1 x 5 1/2 x 29 1/2"
- 8 - 1 x 3 1/2 x 11"
- 8 - 1 x 3 1/2 x 9"
- 2 - 1 x 5 1/2 x 16 1/4"
- 2 - 1 x 3 x 20 1/4"
Steps To Building The Shaker Style Coffee Table
Starting with a quick sketch to get an to see if Brenda and I are on the same path of how we think the coffee table should look.
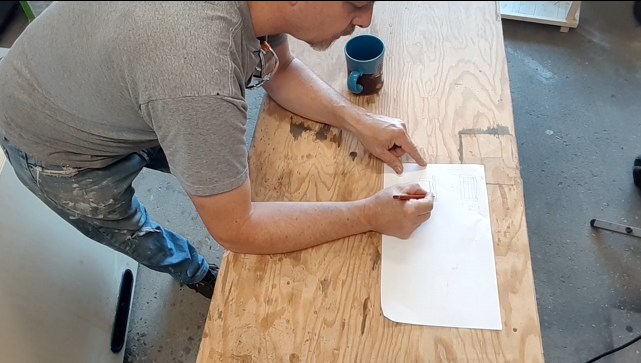
Once we had a plan and measurements we started cutting the boards to length.
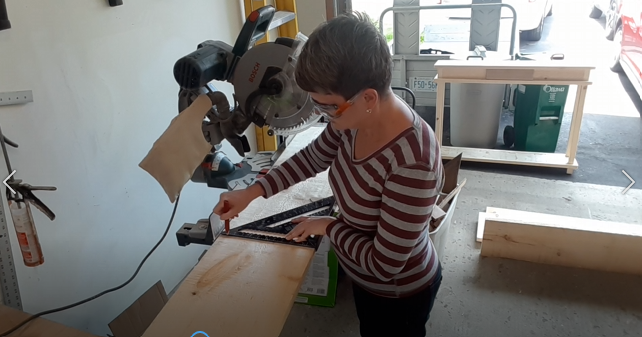
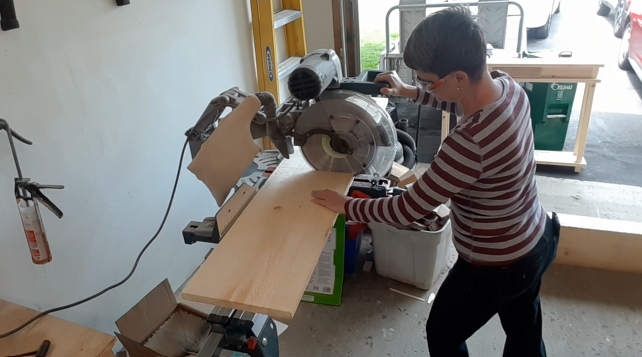
After cutting the boards to length, it was time to cut the boards to the appropriate width and preparing the boards to have clean and straight cuts for gluing.
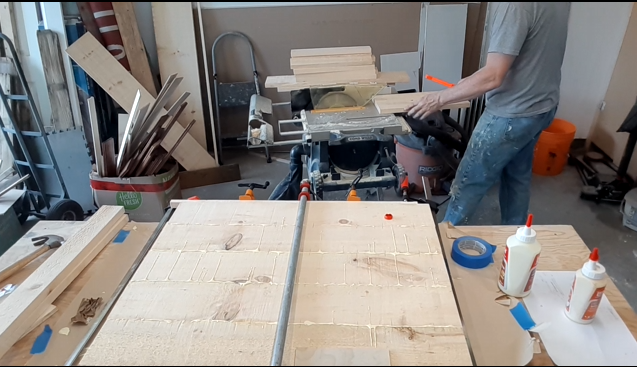
We only had 1" thick boards to build this table so we had to glue a number of boards together as to make a thicker 3" x 3" leg.

We don't have a planer, so we had to use our sanders, which includes a belt sander and orbital sander along with a small hand-planner.
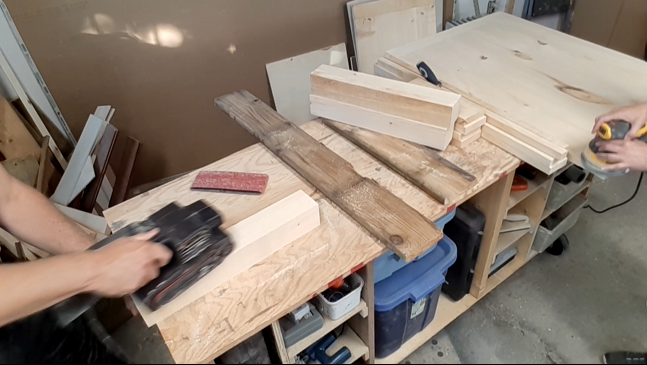
Once all the wood was sanded it was time to start prepping the wood for assembly. We used a combination of pocket hole screws and dowels to assemble the coffee table.
Here, Brenda used a pocket hole jig from Kregg to make those pocket holes.
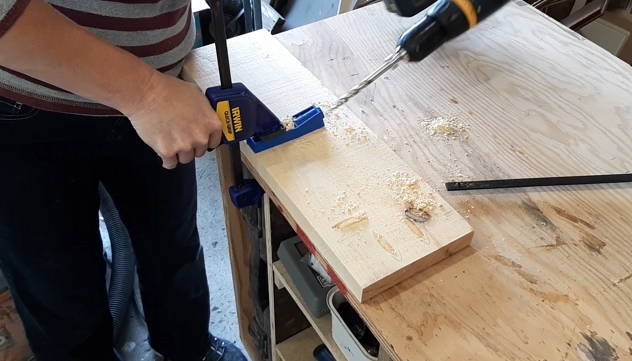
Paul used a dowel jig to add extra strength to the construction of this coffee table. Having both pocket hole screws and dowels make a very strong wood joint, quickly.
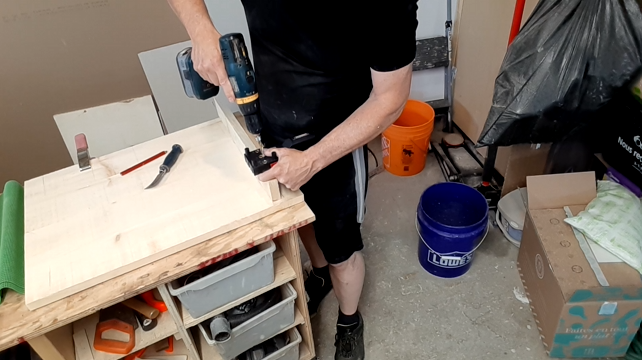
Once all the pre-drilled holes and notches were complete we were able to move onto assembly of this table.
We find that the assembly stage is one of the most rewarding step of any woodworking project.

Somehow we managed to lose all the footage of preparing and applying chalk paint to the table.
First we stained the table with a dark wood stain as a base.
Then we made our own chalk paint using off the shelf latex-acrylic paint, water, and plaster of Paris.
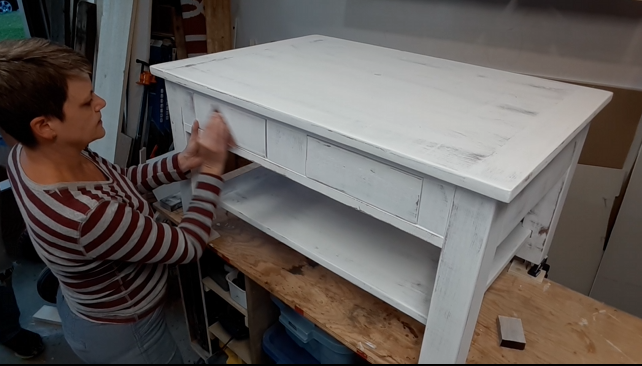
After applying the chalk paint then letting it dry overnight, it was time to sand areas to make it look like a warn out piece of furniture.
We coated the finished project with a 3 coats of wipe on Polyurethane and added the hardware to complete this project.
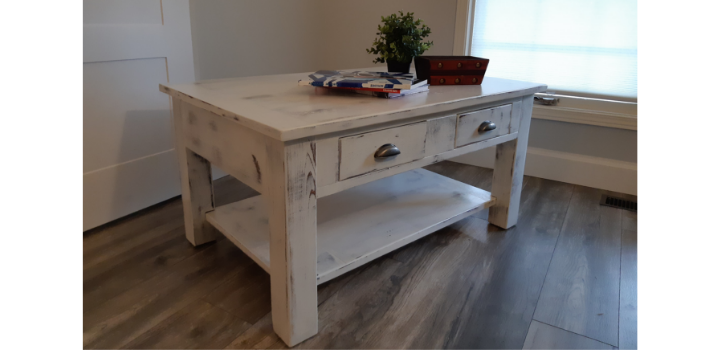
This antique white table matches well with the hallway table we made in the same style, so be sure to check out our other builds on this website including our antique white hallway table here.
If you have any questions or comments to make about this build be sure to leave them below we would love to hear from you.

I have a thing for furniture. Oh it’s the type of store I could stay hours in. I really enjoy looking into this piece; not to mention I love coffee. It would be a great area to place my bible ay as I drink some coffee and worship music in the background. It’s design and color is unique.
The atmosphere you have described sounds peaceful.
Thanks for sharing
Paul