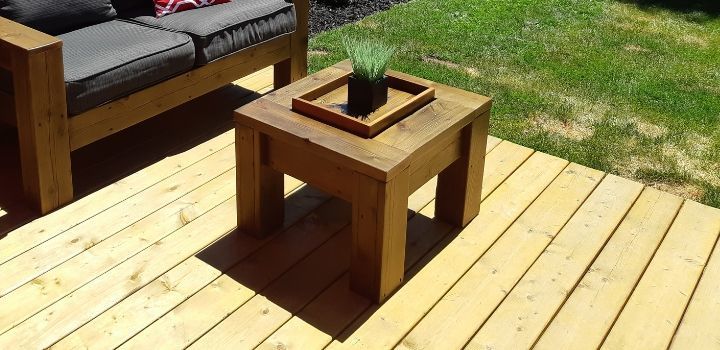
Building this reclaimed wood lift top coffee table was a fun and quick project.
We not only have a lift top tray on the top, when you take the tray away you will find a bucket that can be used for drinks or storage.
In our previous and first post we described how we had a pile of wood from an old cedar deck we took apart. We decided to build some patio furniture from the reclaimed wood and started with the love-seat, you can see it partially in the photo above or see the reclaimed wood love-seat here.
Our new deck isn't very big but we really liked the idea of having a table with a drink bucket so we designed this small, cute, and functional coffee table from more old deck leftovers.
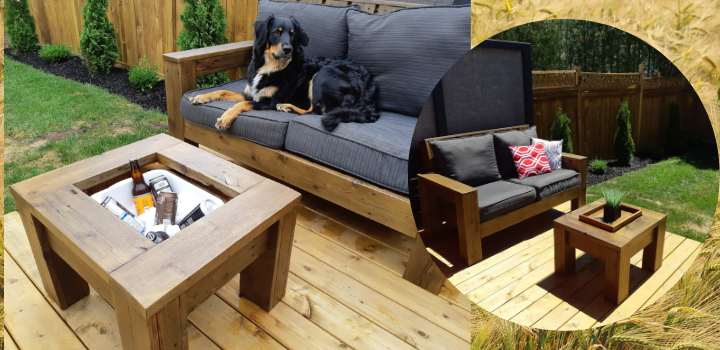
Image of tray/bucket
This table is perfect for people with a small deck and don't want to go back to the kitchen refrigerator every few hours, maybe minutes for some to replenish people's drinks.
If the bucket does get low you can use the cover a.k.a. tray to load up and bring back to the deck party.
The table is made from robust cedar 2x6's and some 5/4 deck boards. If it was good enough to hold people up as a deck for so many years you know that it will have no problem holding your drink or those people that like to use tables as their party stage.
How We Built It
Dimensions
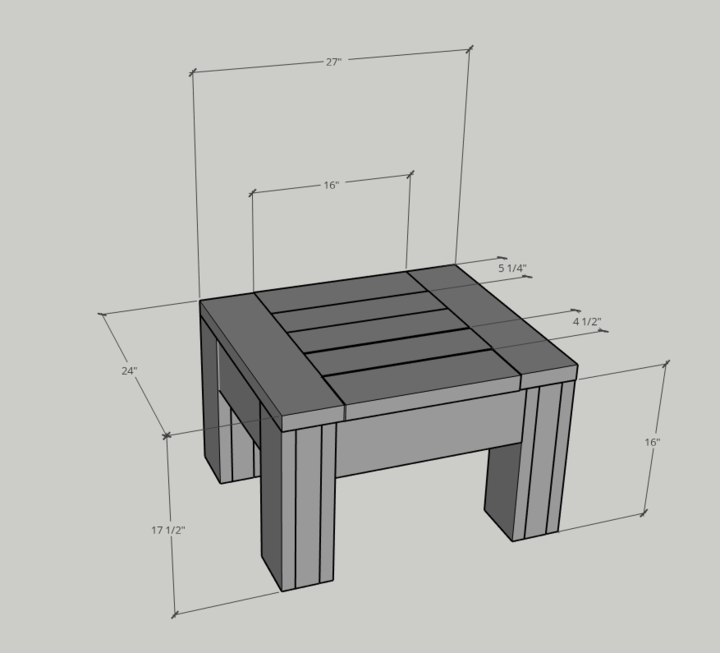
The Sketchup image above does not have the tray incorporated. I'm still new at Sketchup and was having a difficult time trying to incorporate the tray.
To make the tray I took the 3 centre boards and added top rails to make the tray then added cross bracing underneath to hold the bucket and tray.
The images below will give you a better understanding how the bucket and tray are held up.
Preparation
Shopping list
- 2- 2"x 6" Cedar Boards, 8 foot long
- 2- 5/4" x 6" Cedar Boards, 8 foot long
- 1- 1/2" x 6" Cedar Fence Board, 4 foot long
Note: Lumber size listed is in nominal sizes. Learn more about Nominal vs. Actual sizes here.
We used a stack of reclaimed lumber cut down to sizes required.
Materials
- Cedar Wood. Can be deck cedar quality or reclaimed cedar
- Spar Urethane
- Pocket Hole Screws
- Wood Screws
- Outdoor Rated Wood Glue
Tools
Must Have Tools
- Safety Glasses
- Ear Protection
- Dust Mask
- Sandpaper
- Drill
- Tape Measure
- Square
- Circular Saw
- Paint Brush
Advanced Tools
- Compound/Mitre Saw
- Table Saw
- Pocket Hole Jig
- Impact Drill
- Orbital Sander
- HVLP Paint Sprayer
- Jointer
- Planer
Cut List
- Top
- 2 -2x6 x 23"
- 5 -2x6 x 16" (3 cut down to 2x4")
- 2 - 1/2 x 1 1/2" x 16"
- 2 - 1/2 x 1 1/2" x 10 3/4"
- Legs
- 8 - 5/4 x 5 1/4 x 16"
- 8 - 5/4 x 2 1/2 x 16"
- Bucket holder
- 2 - 1" x 6" x 16"
Steps To Building The Table with Ice Bucket
Initial layout planning
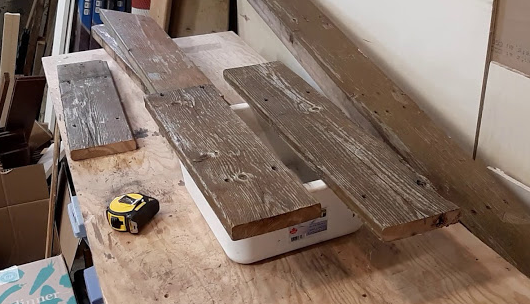
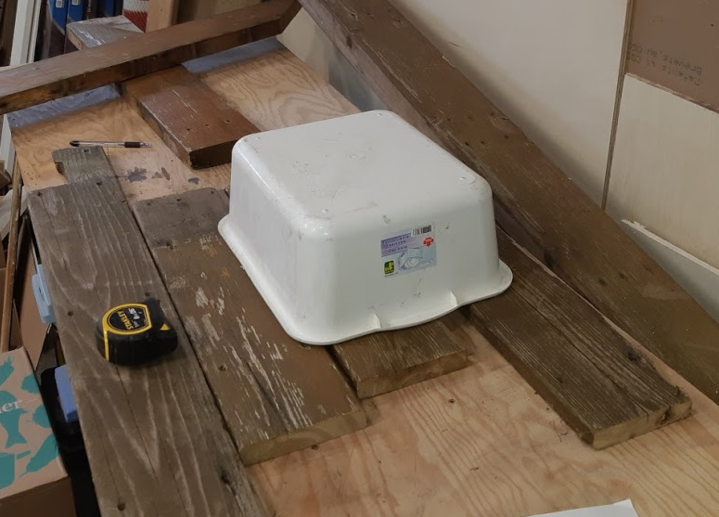
Additional planning before cutting the wood making sure the reclaimed wood we are using will work for this project.
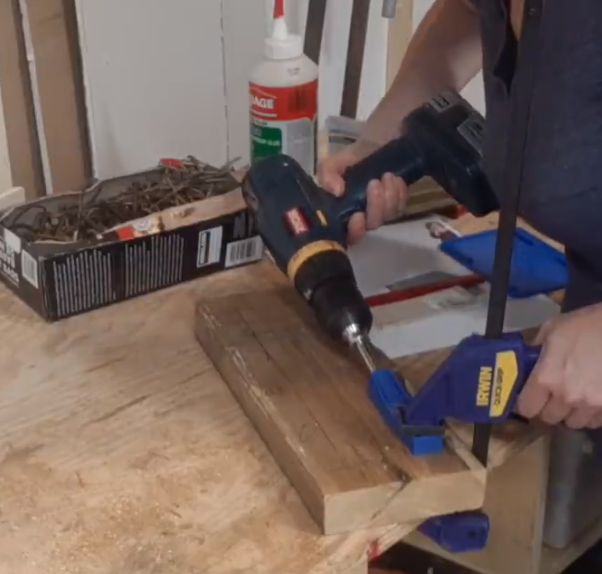
It looks like we forgot to hit the record button during the cutting stage. So we are moving right along to pre-drilling the holes for assembly. We used a pocket hole jig from Kregg.
We never used a pocket hole jig before until we started the prequel to this project, the Outdoor Loveseat.
We found the joints to be quite strong using the pocket hiles that we decided to use it for this project as well.
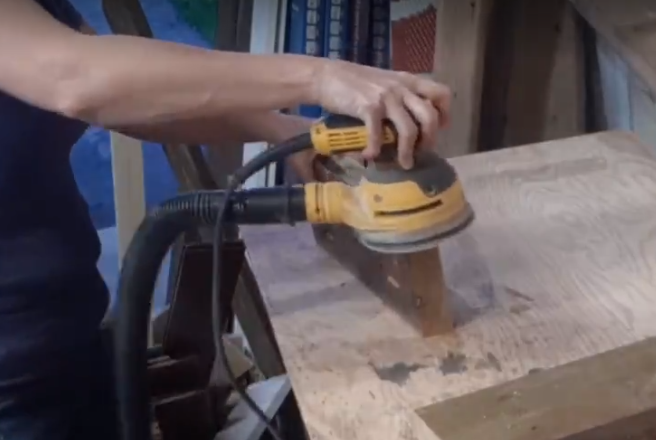
Sanding all the pre-cut and pre-drilled boards. Lots and lots of sanding.
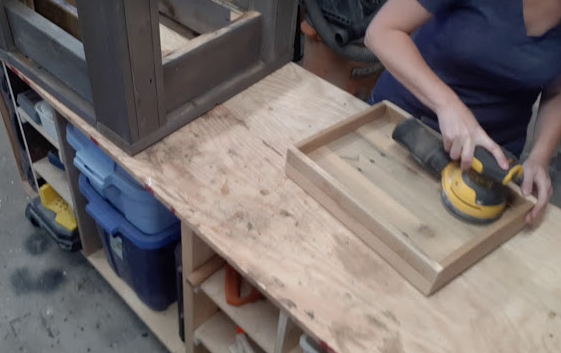
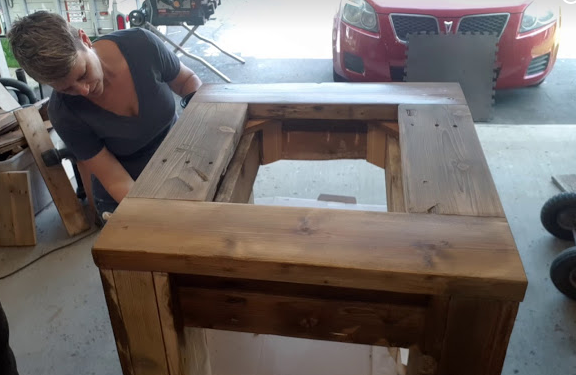
Sanding the assembled tray that covers the ice bucket and makes the top of the table.
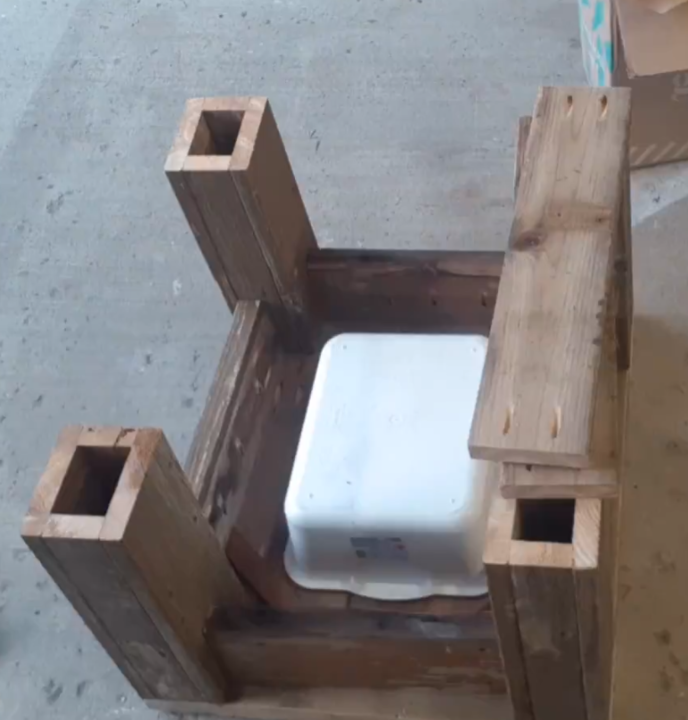
Most of the table is assembled and now in the process of installing the ice bucket.
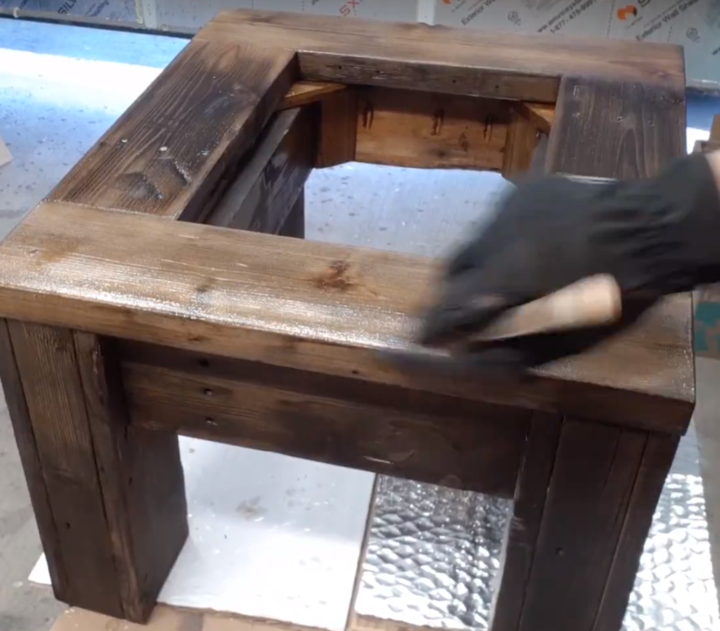
Time to add a few coats of Spar Urethane.
The first coat with thin the urethane to about 50% so that it soaks deep into the wood to provide a better deeper protection and provide better adhesion for the following coats.
What's Next?
The completed table looks fantastic and matches well with the Outdoor Loveseat we built using the same reclaimed deck wood.


This DIY project is a good one, the coffee table looks great and the ice bucket that is designed right into the table is useful and looks sharp. Using reclaimed wood can add a lot of character to the piece, and the lift top just looks like it belongs there, it fits nicely into the design.
The matching sofa also is something to consider building and have a matched set for outdoor enjoyment. It does not seem to be a hard project, and working the wood a bit to give it a new life makes a lot of sense over wasting it or burning it as I see often.
What should I expect to pay out-of-pocket for the other materials that I would need outside the re-claimed wood do you think. I have a lot of stuff in my workshop, perhaps I already have most of what I need. It would be good to know what materials might cost though in case I need some. Thanks for the super idea of a lift top coffee table that is made of reclaimed wood. It makes too much sense!
If you needed to buy new lumber I would suggest using lumber that is resilient outdoors and affordable. In my area that would be cedar deck boards (5/4″ x 6″) and (2″ x 6″) you will need 2 of each for this project. In my area, cedar deck boards sell for approximately $1.65 per foot for the 5/4″ and $2.40 /foot for 2″. So the total cost for new wood with some leftover for other projects would be under $50.
If you do go ahead with this project please be sure to send us some pictures so we can showcase them on this website.
Cheers
Paul
Hi, there.
This is a masterpiece – pure art. Thank you for sharing this. I will have to get my gang together and suggest that we build one together, too. After all, your descriptions are so precise that nothing should go wrong.
Since I’m not great with measurements, I will leave the cutting, drilling and sawing to my husband, however, and I stick to the sanding part and painting part. I’m sure this will be a fun and creative project for the entire family.
I have a question, though. we do have some rosewood boards in our garage. I simply adore rosewood and was wondering if it is suitable for designing such a coffee table?
Anyway, I will definitely show this to my husband, and maybe I can get him excited about it, too. Thanks, again, for sharing.
Warm regards,
Keryn
Thanks, Keryn,
Rosewood would be an excellent choice for it is naturally resistant to rot from weather and insects. Although it is naturally resistant, if you plan to leave out in the elements year-round a layer of protection would be recommended.
On this project, we used a store-bought finish called Hellman’s Spar Urethane and hear that it provides a very durable finish that will last for years.
You can more natural finishes like waxes but will require reapplication as you notice it degrade with time.
It would be awesome if you create this project with Redwood. Please share pics if you do!
Cheers
Paul
Hi Paul,
Sheer genius, love the idea of having a chiller in the table opposed to having an esky, less chance of people tripping over the table than an icebox.
And I do love the way you share the whole instructions on how to make, most would omit that information.
Keep up the great work and will keep checking back for further projects you may share.
Jan
Thanks, Jan,
Remember, you can subscribe to our website or to our Youtube channel so you will be automatically notified when we add new content ;).
Wow, Paul
You are so great, I never thought about doing similar furniture myself. Your video is a very good guide. It lets me know in detail how to make an Outdoor Coffee Table with an Ice Bucket! Interesting, I will let my husband follow one of your videos.
Finally, thank you for giving the detailed Shopping List, Materials, Tools and Cut List, I just need to follow the list to be OK, and the rest is left to the man to DIY it.
I humbly accept your distinguished feedback 😉
To us, these initial guides and videos are just the beginning. We have a long way to go to meet the quality we are aiming to achieve.
Paul
I like that it looks modern rustic and functional. Your step by step procedure with pictures and illustration is a great guide for people who wanted to make a copy of this. The idea of a coffee table with an ice bucket is very useful in our plan to put a garden furniture set in the future. We want a receiving area for smoking guests without them feeling driven away because of their habit. This kind of table looks costly because of its design and purpose. I am not sure if cedar is highly available in our country. Most type of woods that are used for furniture here are kamagong, acacia, narra, mahogany and pine. We have synthetic wood but I’m afraid it’s not durable and can alter the process of making this beautiful table. Thank you for sharing everything. I can ask my husband to add this on his DIY list. How about a chair with storage that can go with this masterpiece?
We are planning to make a chair or two to complete our outdoor reclaimed wood furniture set. We already have the cushions, we now need to find some more wood to repurpose for those chairs, stay tunned.
I like the idea of having a table with an ashtray instead of an ice bucket or to make look more appealing have the ashtray receptacle hidden but fireproof.
Thank you for giving me an interesting idea for a future project 😉
Regards
Paul