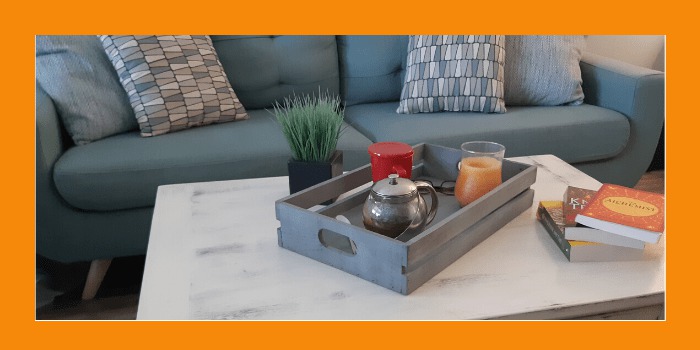
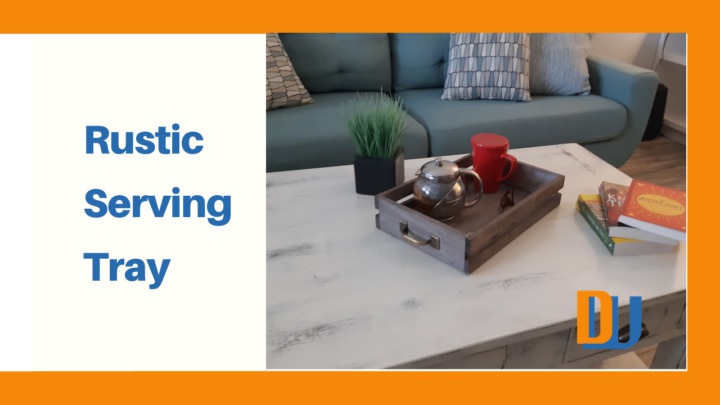
Made from solid pine these rustic wood serving trays make a perfect coffee table decorative centerpiece or as a serving tray with it's stain resistant-protective coating you don't need to worry about those spills.
We made these trays in preparation for a craft sale but we will definitely put this on our list of projects to build in the future to sell to anybody interested or we can customize the size and color to work with any decor.

Although these trays are made from solid wood they are light yet rugged.
One of the challenges was trying to find wood that was not too thick that would increase the overall weight but also make the trays look too clumsy.
We had some left-over rough cut pine boards in the shop so we re-sawed them down into half-inch thickness which worked out to the perfect thickness for the look yet maintain a strong structure.
Check out this video to see some of the steps we took to build them.
How We Built It
Design and Dimensions
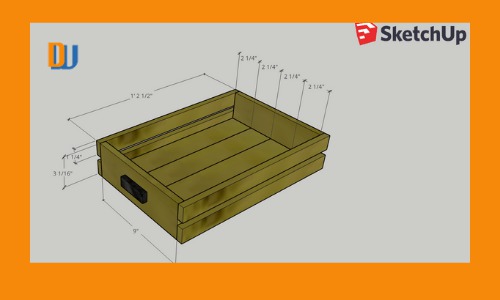
Preparation
Shopping List
- 1 - 1" x 6" x 26" We used rough pine wood for some and reclaimed cedar for others. You can adjust your measurements and type of wood as you wish.
- Handle hardware. We used a 3/8" x 2" Eye-bolt as our handle but you can use wire, twine or anything else you may think of.
Note: Lumber size listed here is in actual size. Learn more about Nominal vs. Actual sizes here.
Materials
- Wood or choice. We used Rough Pine and Reclaimed Cedar Boards.
- Nails or brad nails
- Wood Glue
- Sand Paper
- Chalk Paint or any Wood Finish of your choice
Tools
Must Have Tools
- Safety Glasses
- Ear Protection
- Dust Mask
- Sandpaper
- Drill
- Tape Measure
- Square
- Hammer
- Circular Saw
- Paint Brush
Advanced Tools
- Compound/Miter Saw
- Table Saw
- Drill bit
- Dowel Jig
- Impact Drill
- Orbital Sander
- HVLP Paint Sprayer
- Joiner
- Planer
- Brad nailer
Cut List
- Top and Bottom
- 2 - 1" x 5 1/4" x 5 1/4"
- Sides
- 4 - 1" x 1" x 9"
- Rails
- 8 - 1" x 1" x 3 1/4"
- Tapered Top
- 1 - 1" x 3 1/4" x 3 1/4"
Steps To Building This Wood Box Centerpiece
As with most of our projects, we turn to SketchUp to create a 3D design we can visualize before we build it.
We use a free version of SketchUp at this time but as our business grows we will likely move up to using the paid version.
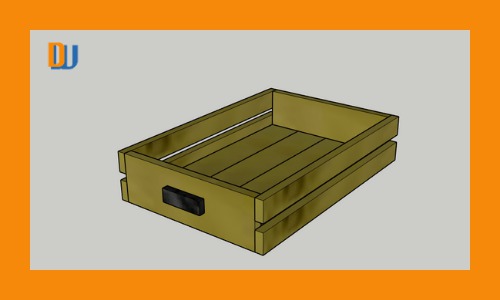
If you're going to build this tray you will likely go out and buy some new wood at your local lumber yard. In our case, we had some wood scraps in our workshop so we started by sorting what pieces will work for this project.
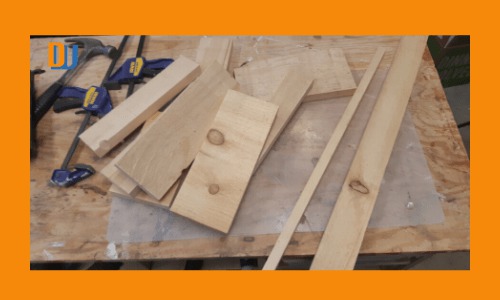
After creating the design and getting the wood we need we can start by cutting our wood to the sizes required.
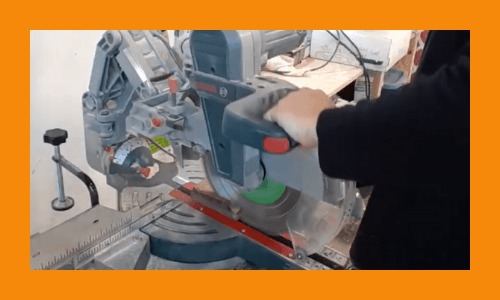
Once we have all the cuts made we will see if all the pieces fit by doing a dry assembly.
Unfortunately, we either forgot or the camera didn't work while we did this step.
So we can skip to the sanding which is probably the step that takes the highest percentage of the time for every project.
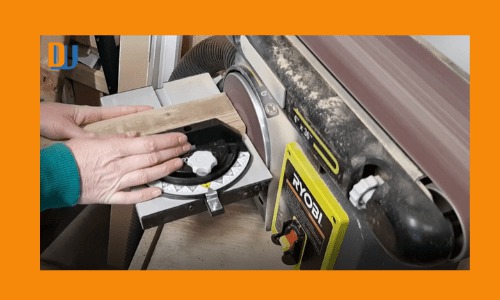
Now that all the wood is cut and sanded this would be the part where we assemble the project. In the case of this serving tray, we not only missed getting the dry assembly but we also missed the steps for the final assembly.
So we are left having to list the steps we took to assemble the rustic serving tray.
- Glue the 1" 1/2" x 2 1/4" bottom boards together and clamp until dry, overnight if possible.
- Glue and brad nail the ends to the base.
- Glue and brad nail the side rails. Start with the bottom ones to be flush to the bottom of the tray, brad nail along the rail into the bottom boards and to the end pieces.
- Glue and brad nail the top side rails to the end pieces, aligning the ends of the rails to the tops of the end pieces.
- Add the handle hardware ( if you didn't create handle holes)
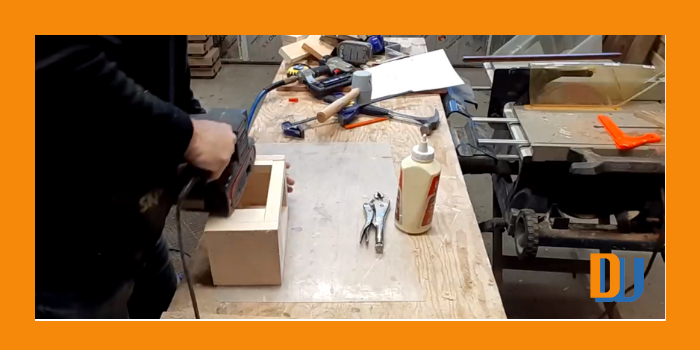
Now it is time for some final sanding. Once again we missed or lost footage of completing the final sanding finish for the tray. So in its place, we give you a sanding image from another project.
Once the serving tray was fully sanded and prepped for the final finishes, in this case we used a spray on chalk paint but also did some with other paint colors or a natural finish with Linseed Oil.
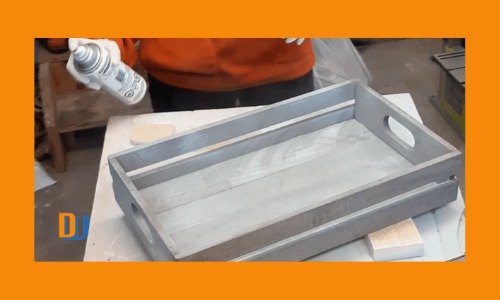
Once the spray on chalk paint was dry we coated the tray with 3 layers of clear acrylic spray finish.
CONCLUSION
Please let us know what you think. Is this something you would make? Would you suggest a different color or style?
Please comment below or if you have any questions about this project we would love to hear from you.

This is a simple idea and yet needed as we all experienced spilling a mug of coffee in our study table and sometimes in our computer table. Kudos to the person who has conceptualized this one.
Can I make this kind of wooden-tray with other kinds of woods aside from Pine? Here in my country, Pine is so valuable that we can’t cut them just to be used in making a wood serving tray. So, can we use an alternative like a Narra wood?
I feel that it really can be made with any type of wood. You may need to adjust the thickness of the wood depending on the type you use and you wouldn’t want too many knots in it, especially on the side rails that help hold it all together.
This would be a great idea for me and my son to build together for his mom! I am normally not the best do it yourself kind of guy, but with your instructions I am confident that even I can put this together. I noticed that at the end you painted it, but if we like the wood color would we just let it be or would we still put the 3 layers of acrylic finish on it? Thank you for the help, can’t wait to get started!
Great question. It would be recommended that you do protect your wood with some type of finish in case you spill something so that it doesn’t stain the wood permanently. If you wanted the natural wood look then we love to use Linseed Oil. It is easy to apply, it really brings out the wood grain and it has a distinctive natural smell.
This rustic serving tray looks good. The video is very good. I find the finished product and the sketch up to be very useful for me to visualize how the product is designed and finally how it is made. This is more useful than just sketches alone. I find that the information provided makes it very easy for follow and provide the necessary guidance for me to take on this project myself.
It is our hope that people will be motivated to build their own serving tray and we would certainly enjoy it if you send us some pictures of your completed projects.
Cheers.
This is just a simple thought and yet needed as we all experienced spilling a mug of coffee in our study table and sometimes in our computer table. Good job doing it! Can I do this on my own ?
This is definitely a DIY project. We used scrap pieces and resawn to be thinner but you can purchase your preferred thickness of wood, small nails, and glue required from any home supply big box store. The only tools you really need is a hand saw, hammer and screwdriver. Power tools are preferred but absolutely required. Cheers
Paul