Using reclaimed wood for a project like this mirror frame is always rewarding but being able to reclaim an old mirror for this project brings it to a whole other level of gratification!
This project started with an old mirror from an old dresser we bought off of Kijiji a few years ago.
The mirror was attached but you could tell that it wasn't the original mirror for that dresser as the frame style was different and it wouldn't attach properly on the dresser.
We opted to remove the mirror and its frame from the dresser refinished and sold the dresser.
We kept the mirror for another day and that day has finally arrived, albeit about 6 years later.
The frame for the mirror didn't look original either, it had an ugly stain finish, it was sanded a few times before with dips and crevices so we decided to scrap the old frame.
We took the old cardboard backing off and the wood frame was not hard to dismantle as it almost fell apart on its own.
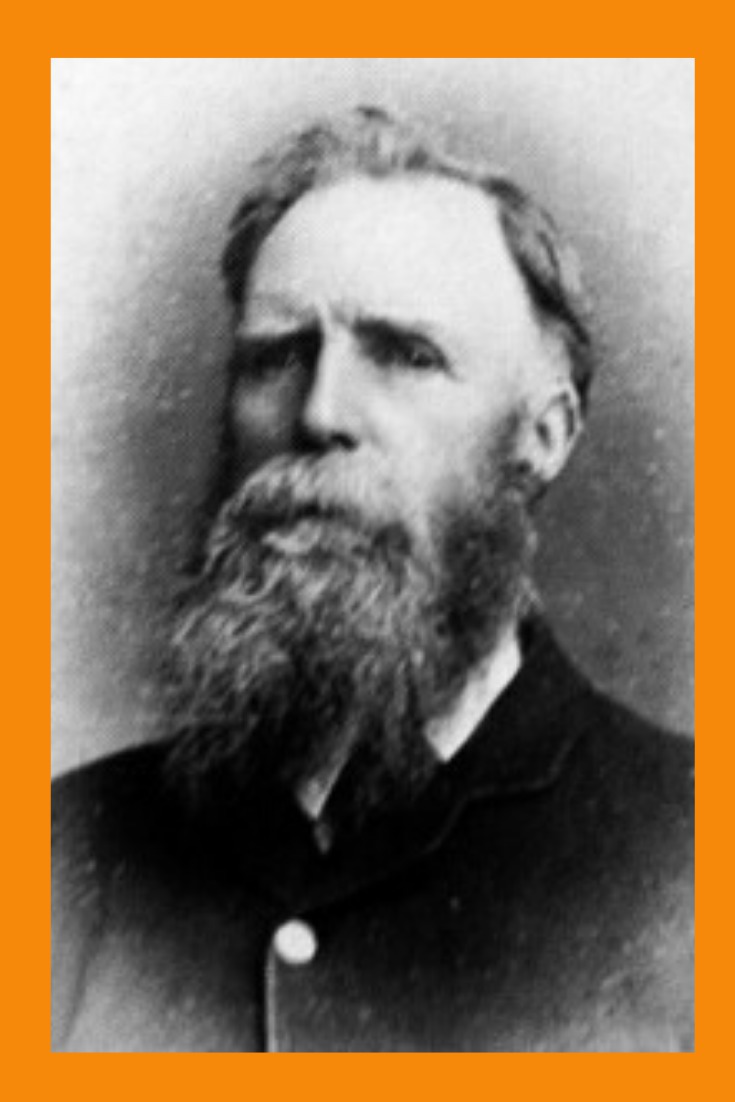
This is where the guy in the picture comes in.
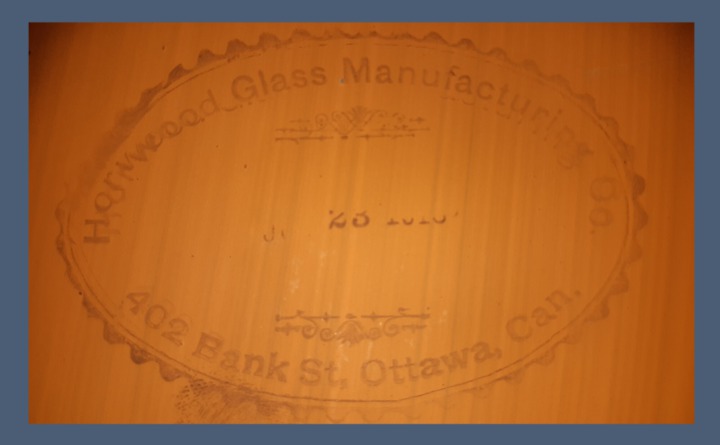
The back of the mirror had orange paint along with a company stamp.
The company stamp on the back of the mirror reads "Horwood Glass Manufacturing Co." with the address of 402 Bank St. Ottawa, Canada which is just a few miles away.
There are also some numbers in the center that may be a date but unfortunately, most of the numbers are eligible except for the number 23. Does it appear that it may be June 23, 1919 ????
Take a look, let me know what you think the numbers represent.
It turns out that Mr. Horwood was quite renowned for his stained glass windows. He provided the windows to Canada's Parliament buildings along with many cathedrals and churches in the region including New York State in the United States.
Knowing that we have an interesting story behind the mirror, which may be over 100 years old, we certainly wanted it to continue to be a useful feature in someone's home, maybe for another 100 years.
We cleaned the mirror the best we could and set out to build a wood frame in a style that we prefer and using some more of the reclaimed wood we had in our workshop.
After making items with many pieces of our reclaimed for a recent craft sale we didn't have many full pieces of wood to work with.
So we had to improvise our plan to make it a solid wood frame as you will see further down.
How We Built It
Design and Dimensions
Dimensions
There wasn't much we can show in regards to design for this project as we figure out how to use the remaining reclaimed wood we had left-over in our shop.
The dimensions are of course very close to being within the Golden Ratio.
Mirror Dimensions: 24" x 14"
14" x 1.618 = 22.652"
So the mirror isn't exactly made according to the Golden Ratio but it is very close. They likely rounded up the measurement to an even number so it works better for easier calculations for manufacturing or their equipment was made a certain way that it worked out better to have a standard.
If anybody knows the reason please leave a comment below.
Frame Outer Dimensions: 30" x 20"
Frame width 3"
Preparation
Shopping List
- We used reclaimed cedar boards of various sizes.
- If we were to use new wood then we would have changed the frame width down to 2 5/8" wide so we could use standard 6" boards and rip it in two so we would have 2 boards 6' long for a total of 144" board length.
- This project only requires 100" board length so if you can get a 3" x 10' then that would be ideal. No ripping required.
Note: Lumber size listed here is in actual size. Learn more about Nominal vs. Actual sizes here.
Materials
- Wood of choice. We used Reclaimed Cedar Boards
- Wood Glue
- Sandpaper
- Wood Finish of your choice
Tools
Must Have Tools
- Safety Glasses
- Ear Protection
- Dust Mask
- Sandpaper
- Tape Measure
- Square
- Mallet
- Circular Saw
- Paint Brush
- Clamps
Advanced Tools
- Compound/Miter Saw
- Table Saw
- Biscuit Joiner
- Impact Drill
- Orbital Sander
- HVLP Paint Sprayer
- Joiner
- Planer
Cut List
- Top and Bottom
- 2 - 1" x 3" x 20"
- Sides
- 2 - 1" x 3" x 30"
Steps To Building This Mirror Frame
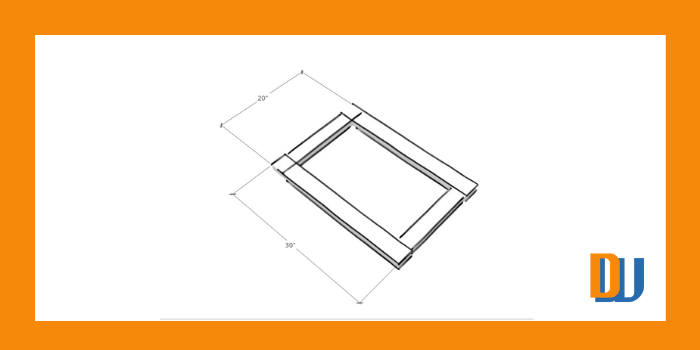
We start with the design. We're not sure if it's because the thought of designing the mirror frame in SketchUp would be the easiest to date or if we were just tired but we couldn't get our SketchUp design done as nicely as we wanted but it was good enough to know the basic dimensions being 30" x 20".
We gather the wood we need for the project. In our case, it was pulling out all the reclaimed cedar boards we could find in our shop. It was looking pretty scarce.
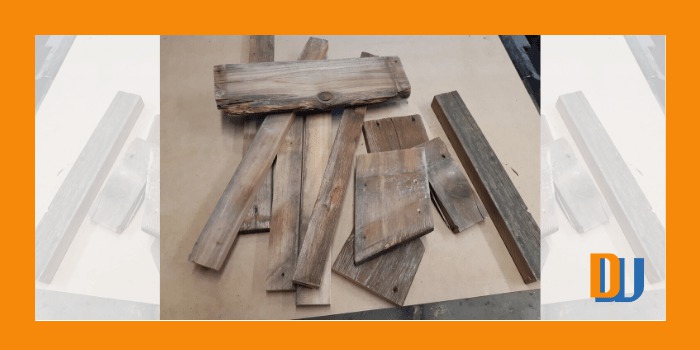
We started by cleaning up the ends of all the wood pieces.
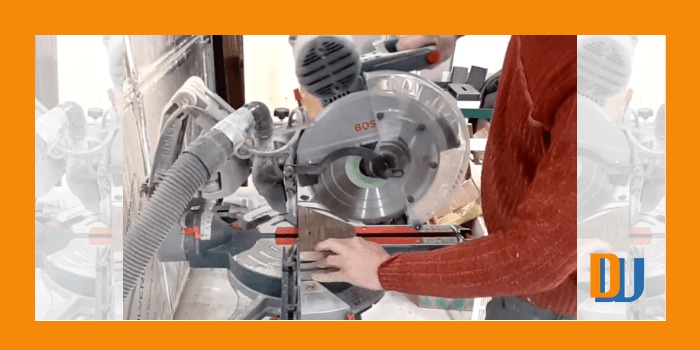
Next, we had to rip the wood into 1" widths at various lengths.
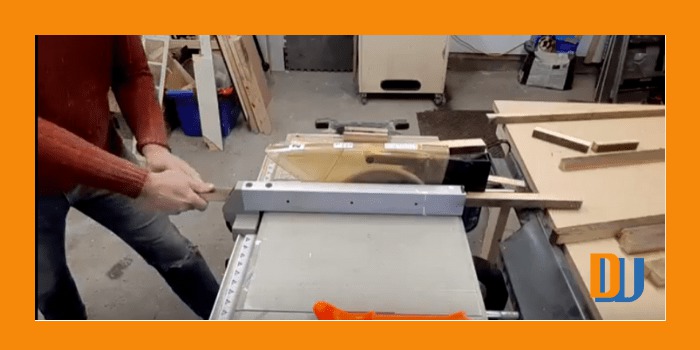
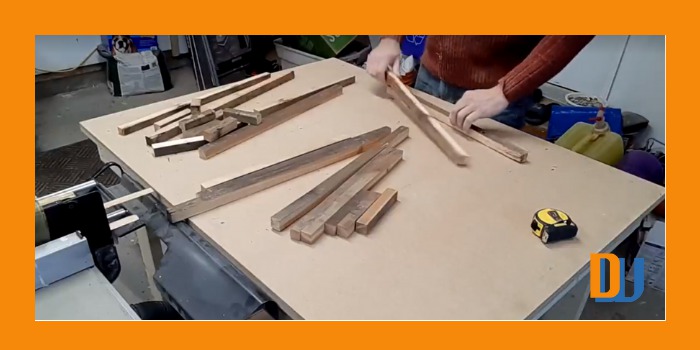
Time to assemble the pieces in approximate lengths to create the board stock we need to create our frames.

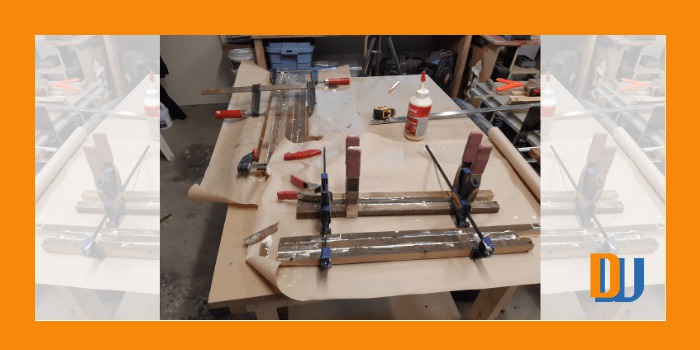
Once the general look and sizing were figured out it was time to glue and clamp or what Brenda likes to call, "A friggin mess!"
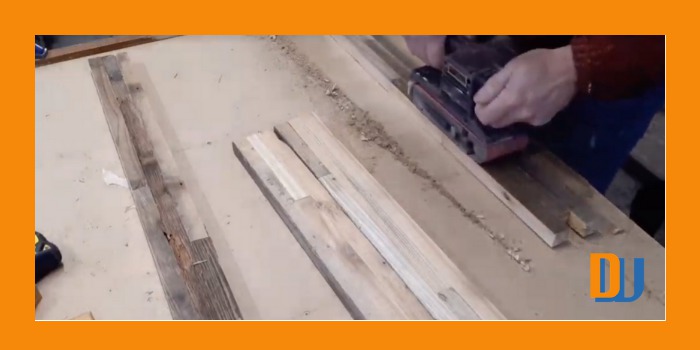
With the glue-up complete it's time to start doing the main deep sanding.
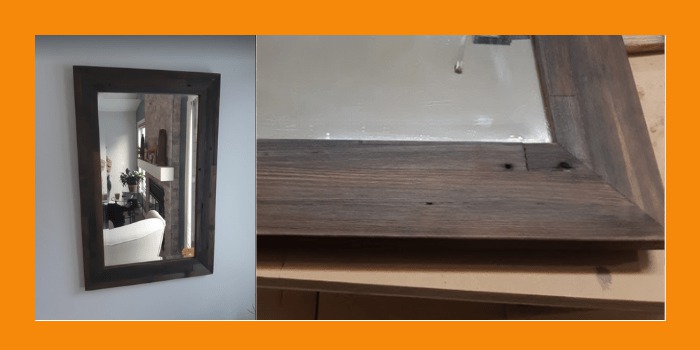
Using the table saw we created a 1/4" groove along the inside edges of the wood for the mirror to slide into and hold in place.
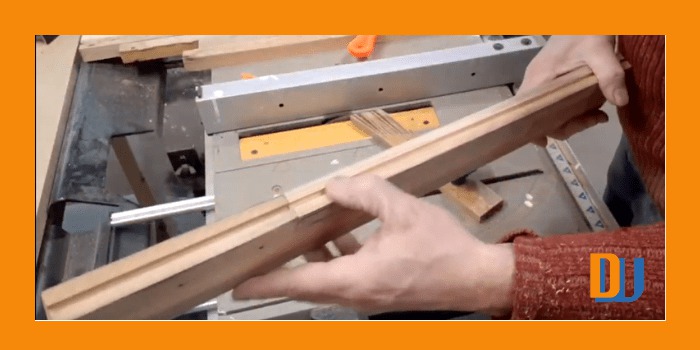
Now that the groove has been made we can cut the angle cuts at 45 degrees to make the frame.
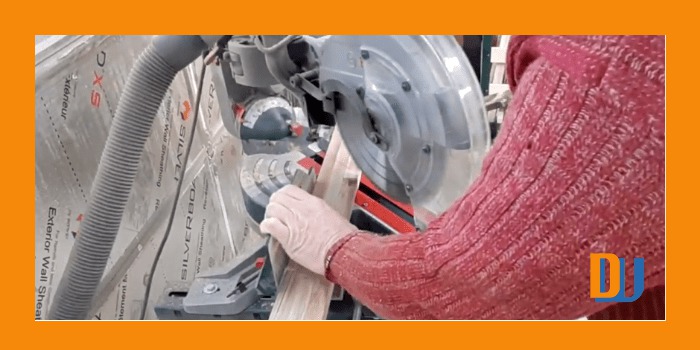
The wood is now sanded and cut to size with the angles so it's time to dry assemble. Fingers crossed!
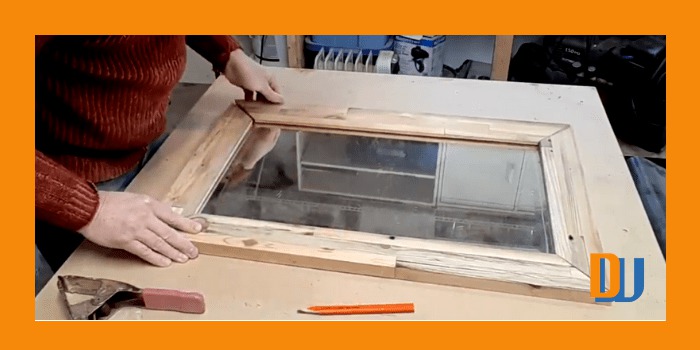
Before we do the final glue up we need to do a thorough cleaning of the mirror. You can tell it's an old mirror with the old scratches and some fogginess showing behind the glass in some areas.
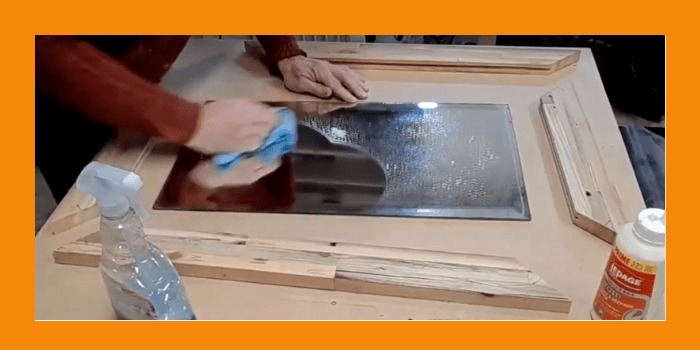
We used biscuits and wood glue to join the corners. This way there are no nails required.

We did some sanding earlier but its now time to do some more, hopefully, the final sanding stage.
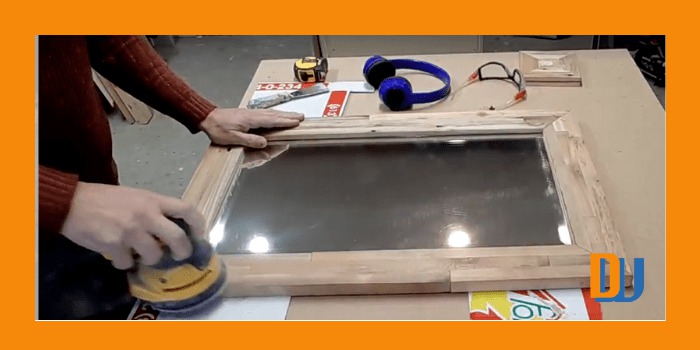
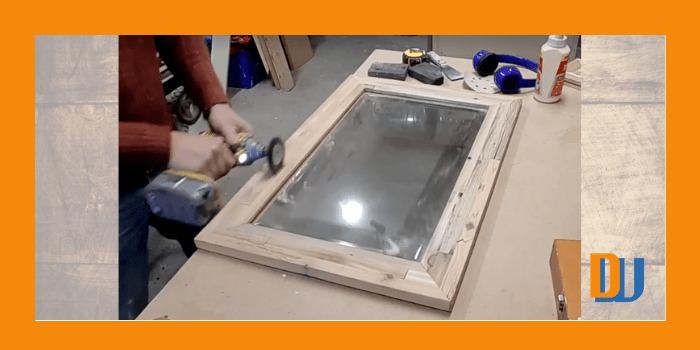
Turns out that sanding was not the last step. We decided to go over the front of the frame with a wire brush to bring out the grain a little more.
Instead of using a stain on this reclaimed wood and worried that the stain would get in behind the mirror paint we decided to go with the weather accelerator.
We used the grey barn wood accelerator. It's funny how it looks brown when we apply it to the wood.
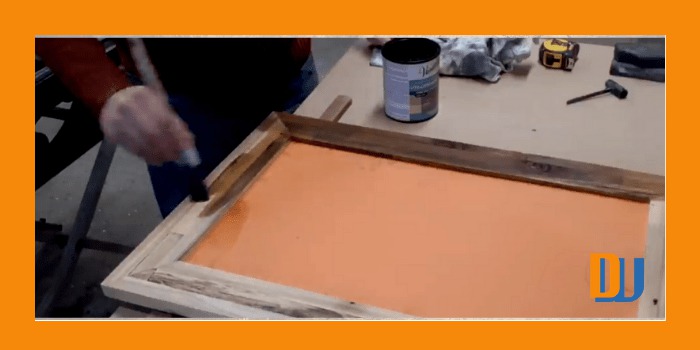
Now the weathered wood accelerator is dry, we do a light sanding with "0000" steel wool to clean up the wood then we add the final finish of Linseed Oil.
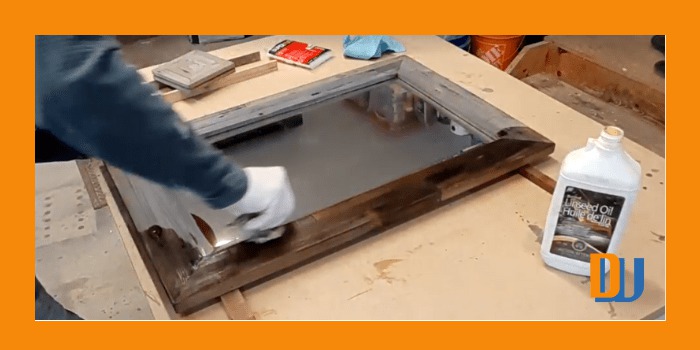
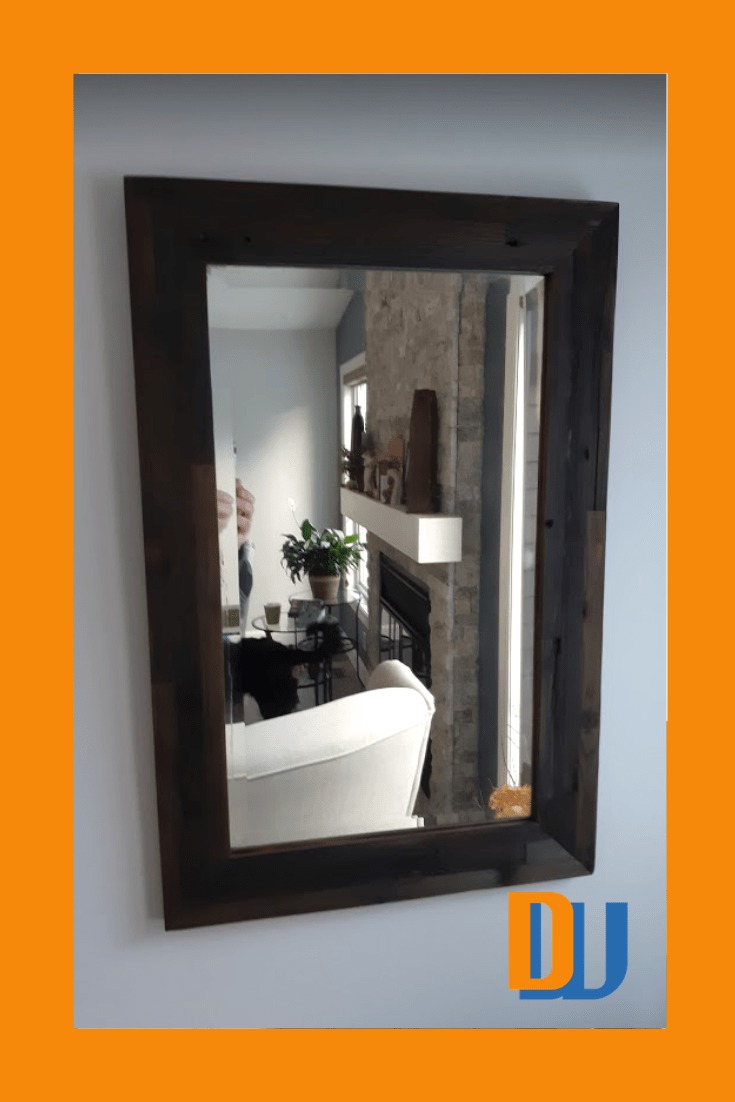
The final finish looks amazing!!!
The plan was to put it up for sale but we may keep it for ourselves.
CONCLUSION
Please let us know what you think. Is this something you would make? Would you suggest a different color or style?
Please comment below or if you have any questions about this project we would love to hear from you.

WOW! The final piece is stunning. I loved how detail you were every step of the way. This is something I would have in my living room. Its beautiful and modern and would be a great addition to any home. I personally love the color. I have two questions for you:
How much was it all?
How do you color the frame?
Thanks, yes we were pleased with the end result as well.
In the end, it actually cost us pretty much nothing. The mirror came from an old dresser we bought a few years back for $50 and ended up selling the dresser recently for $100. The frame was made from reclaimed cedar boards that came from the old deck we demolished last spring, so the only cost was our time and the finish we put on.
The color was from using a weathered wood accelerator by Varathane then finished with a couple of coats of Linseed Oil.
Cheers
Paul
Hey, nice post there and I love the wood mirror thing. I hope you can get more people going on your site and see all your content. I reckon you should sell mirrors, people want to look good and see for themselves. I hope you can make people buy your products because the pictures of the stuff you made look good, people might want what they see in your pictures so they can take it home with them.
Making this mirror frame was a fun project and it may be something we will look into building in the future. Her maybe we’ll be the next Horwood manufacturing for woodworking in Ottawa.
Cheers
Paul
Looks great and looks like it uses enough wood not to fall apart in the first hour. I would like to know more about the mirror and its creator. I will be sure to check out Mr. Horwood’s story.
It’s a mind-blowing product!!! One of the best wooden mirror frame design that I’ve seen.
The story of Mr. Harry Horwood is quite interesting. The mirror frame really looks great in our living room.
Thanks
Paul
It sounds like you found a a bit of history by taking that piece of furniture apart. One never knows what you will find behind a picture or mirror, or even in a dresser drawer.
That is a very nice mirror in the bottom picture of your post. It turned out very well. Yes I would hang that in my home. It is very nicely done!
Yes, we were pleased with the end product as well and finding that stamp on the back of the mirror made it an even better story.
Cheers
Paul
Wow, the final results is amazing and great idea to paint the wood frame in different color to look new. If I decide where it will hang, it is great to hang at the bathroom.
Thank you. It turned out pretty nice even though it was made from wood scraps.