After building the Antique White Hallway table we decided to build a Rustic Hallway table. It turns out that this size and look of the table can go by different names depending on its use. It is called a console table, sofa table or sometimes known as an entry table.
As with the antique white table, the narrow size allows it to be used where space is at a premium but a perfect place for displaying your best pictures, works of art or various home decor.
If using this as a sofa table then the lower shelf can be used to store some extra pillows or blankets that would be hidden by the sofa but the top shelf to be used to add your favorite living room decor.
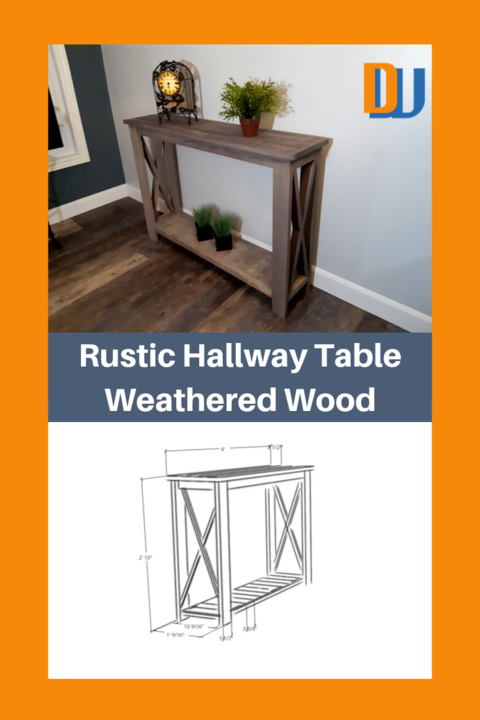
This style of table can easily be a DIY project using basic tools. Although I do have a compound miter and table saw you can use basic hand tools to build your own.
If you're not a do it yourself-er and live in the Ottawa, Canada region then please contact us and we can certainly discuss options for us to build something for you.
When available, we try to use reclaimed wood but we were unsuccessful to find what we needed for this project.
So we went ahead with using purchased rough cut pine from our local big box store.
Check out the video below to see clips of how we built it and lower down we have a plan, cut lists, along with lists of materials and tools.
How We Built It
Design and Dimensions
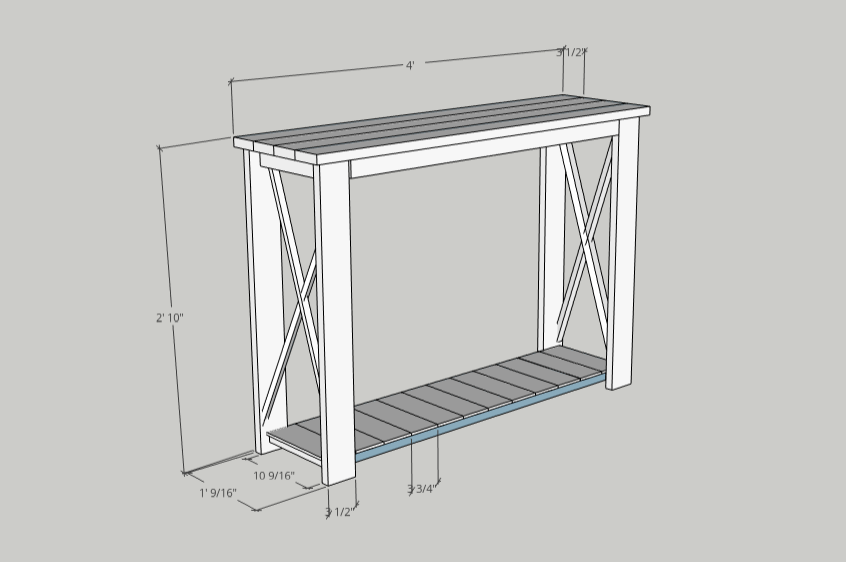
We started by making our plan with a rough sketch on paper then transferred it to Sketchup.
The final plan ended up to be a little different by using only 3 boards for the top instead of the 4. You could also modify it and use only 2 boards.
In the end, it was really only the width of one 12" board cut into smaller boards so you can slice up the 12" board however you want but remember that you will lose some wood from the overall width from the cuts or the thickness of the saw blade.
The final width of our table ended up being slightly narrower than 12". With our final plan and wood in the shop, it was time to start building.
Preparation
Shopping List
- 2 - 1" x 12" x 96" -Pine Boards
Note: Lumber size listed here is in actual size. Learn more about Nominal vs. Actual sizes here.
Materials
- Pine Wood -we used rough cut pine lumber but you can use any grade to save on prep time.
- Pocket Hole Screws
- Wood Screws
- Wood Glue
- Weathered Wood Accelerator or stain of choice
- Linseed Oil or protective finish of you choice.
Tools
Must Have Tools
- Safety Glasses
- Ear Protection
- Dust Mask
- Sandpaper
- Drill
- Tape Measure
- Square
- Circular Saw
- Paint Brush
Advanced Tools
- Compound/Miter Saw
- Table Saw
- Pocket Hole Jig
- Belt Sander
- Impact Drill
- Orbital Sander
- HVLP Paint Sprayer
- Joiner
- Planer
Cut List
- Top
- 2 - 1" x 4" x 48"
- 3 - 1" x 3 1/2" x 48"
- 4 - 1" x 2 1/2" x 8"
- Top Rails
- 2 - 1" x 2 1/4" x 39 3/4"
- 2 - 1" x 2 1/4" x 8"
- Legs
- 4 - 1" x 3 1/4" x 33"
- End Bracing / X
- 4 - 1" x 1 3/4" x 26" ends cut at 15 degrees
- Bottom Shelf
- 11 - 1" x 3 1/2" x 8"
- 2 - 1" x 2 1/2" x 8"
- 2 - 1" x 2" x 8"
- 2 - 1" x 2" x 39 3/4"
Steps To Building The Rustic Hallway Table
As usual, we start by putting our ideas on paper, then transfer them to SketchUp.
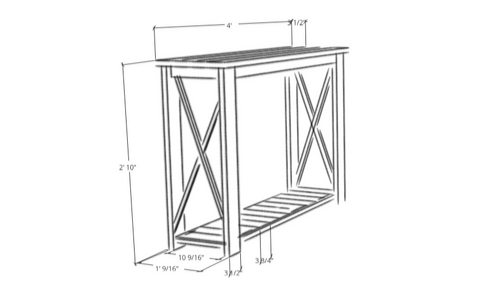
Once the plans are complete, we make sure we have all our materials and tools on hand so that we can start cutting. This project only required the use of the compound miter saw and table saw.
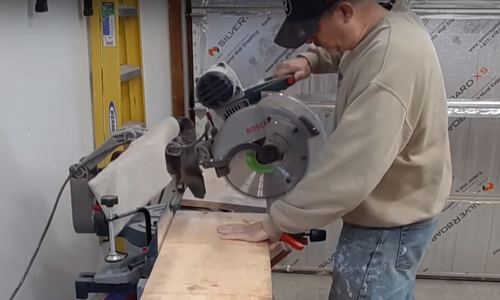
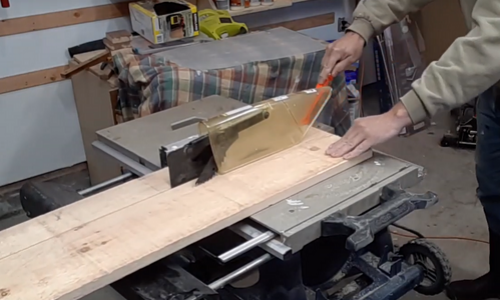
Once you get all your pieces cut according to the cut list, you can start to assemble the table.
The assembly of this project required the use of wood glue, wood screws and pocket hole screws.
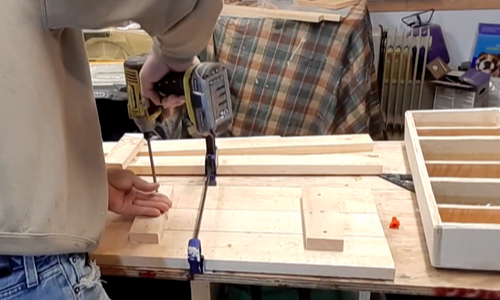
The hardest part of this project was measuring and cutting the end cross bracing. Ideally it would have helped to have a cutting jig for my table saw but my saw does not even have tracks in the table to use a jig, so I had to improvise.

Once assembled you can sand it down and start staining.
We chose to use the Weathered Wood Accelerator from Varathane that we had on hand.
It goes on easily and quickly.
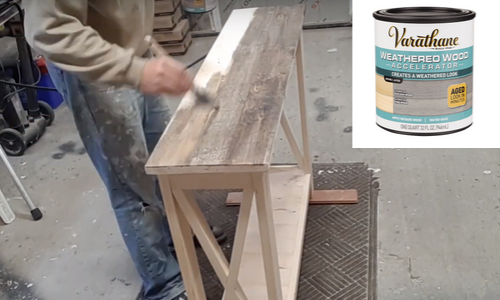
Once the weathered wood accelerator is applied you wait until it's dry to see the final look of the wood.
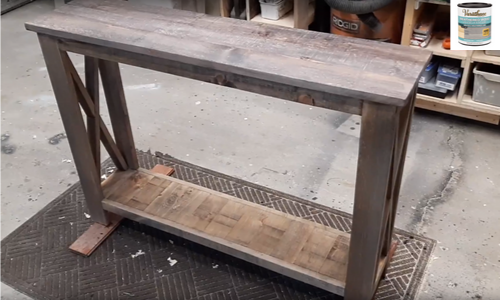
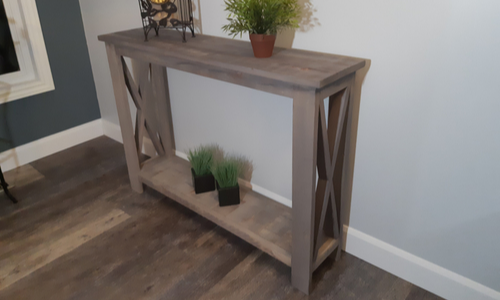
Now time for the the final touch and apply a final sealer or wood protection.
There are many choices that can be used from water-based to oil-based finishes.
The water-based finishes work well, easy to clean up and are quite durable but they tend to look like plastic.
So we went ahead and tried out different finishes we had on hand to see which one would give the most desirable look.
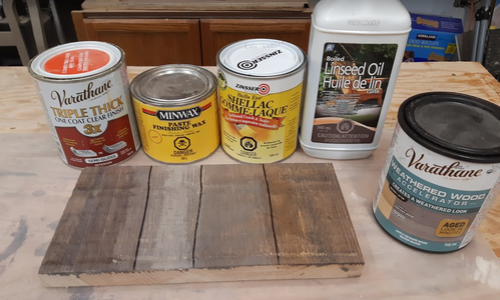
We used a scrap piece of wood, applied the weathered wood accelerator, left it to dry then tried 4 different types of finishes.
From right to left, we used Boiled Linseed oil, Shellac, Paste Wax, and a one coat Polyurethane.
We chose the Boiled Linseed oil as it gave the wood a deeper color and a nice mixture of grey and brown. It is also is waterproof, abrasion resistant and will also resist liquids such as alcohol, coffee and juice.
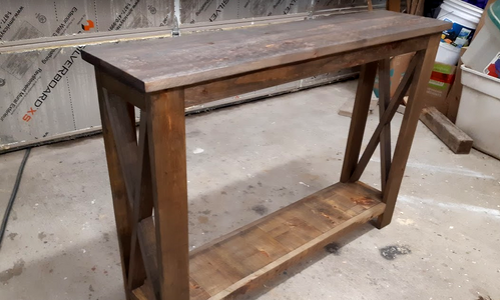
We hope this post has motivated you to build your own rustic hallway table in the near future.
This table can easily be a weekend project and wouldn't cost very much in materials either.
Please sign up below so we can keep you up to date with any new projects or "how to" posts.
If you have any questions or comments please leave them further down in the comment section. We always love to hear from you.

Oh wow! Thank you for this great project.
We have another right at the top of the stairs that we’ve been trying to find something for. Besides, Joe’s been itching to work in the shop and for an excuse to buy a few more tools. This will address both!
I also love the look. It’s the perfect piece for the space.
Thanks again,
Scott
Super! We’re happy you like the look and we will keep building new things to keep him busy 😉
Thank you 🙂