This wood wine bottle carrier will make for an amazing gift along with that bottle of wine you bring to your next gathering at your friends or family holiday meal.
Instead of bringing that bottle over with the typical paper bag or cardboard container, why not present it with a wooden bottle carrier that can be used as a wine bottle display or can be passed on from one event to another for years.

This easy to do a project that can be done with simple hand tools but much easier with the help of a table saw and compound miter saw as we used.
Check out the video below to see the steps taken to complete this project.
How We Built It
Design and Dimensions
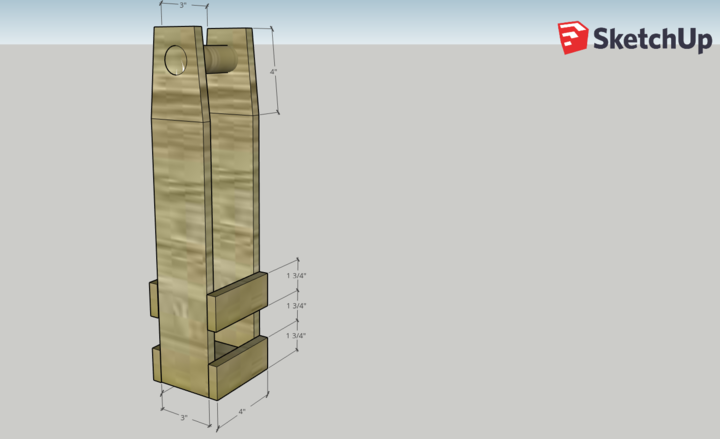
We look at some images online of various styles and designs for wine bottle carriers and this one caught our eye.
Starting with a piece of scrap wood and an empty bottle, an empty Olive Oil bottle, in this case, we started by figuring out the height and amount of wood we would be needing.
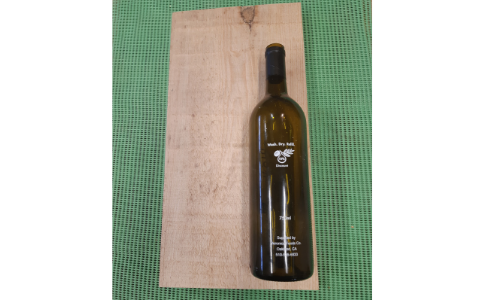
The scrap wood that we had on hand was too thick so we needed to get down to half the thickness.
All we needed for this project was a 1" thick board that was 17" tall and 3" wide by 1" thick. Once we re-cut to the wood in two we had more than enough wood to build this bottle carrier.
Preparation
Shopping List
- 1 - 1" x 6" x 17" re-cut into 1/2" x 6" x 17"
- 1 - 1" x 4" pine dowel
Note: Lumber size listed here is in actual size. Learn more about Nominal vs. Actual sizes here.
Materials
- Pine Wood -we used rough cut pine lumber but you can use any grade to save on prep time.
- Wood Glue
- Nails or brad/ pin nails from a nail gun
- Weathered Wood Accelerator or stain of choice
- Linseed Oil or protective finish of you choice.
Tools
Must Have Tools
- Safety Glasses
- Ear Protection
- Dust Mask
- Sandpaper
- Drill
- Tape Measure
- Square
- Circular Saw
- Paint Brush
- Hammer
Advanced Tools
- Compound/Miter Saw
- Table Saw
- Orbital Sander
- HVLP Paint/Stain Sprayer
- Joiner
- Planer
- Pneumatic Nail Gun
Cut List
- Sides
- 1 - 1" x 3" x 17", re-cut in two to have 2 - 7/8" x 3" x 17". Drill a 1 inch hole in the center at 1" down from the top.
- Side Straps
- Start with cutting 1 - 1" x 1 3/4" x 16", re-cut in two to have 2 - 7/8" x 1 3/4" x 16" then cut down to have final 4 - 7/8" x 1 3/4" x 4"
- Bottom
- 1 - 1" x 3" x 3"
Steps To Building The Wood Wine Bottle Carrier
This carrier is designed for small wine bottles. We started with measuring the bottle then drawing it up in SketchUp.
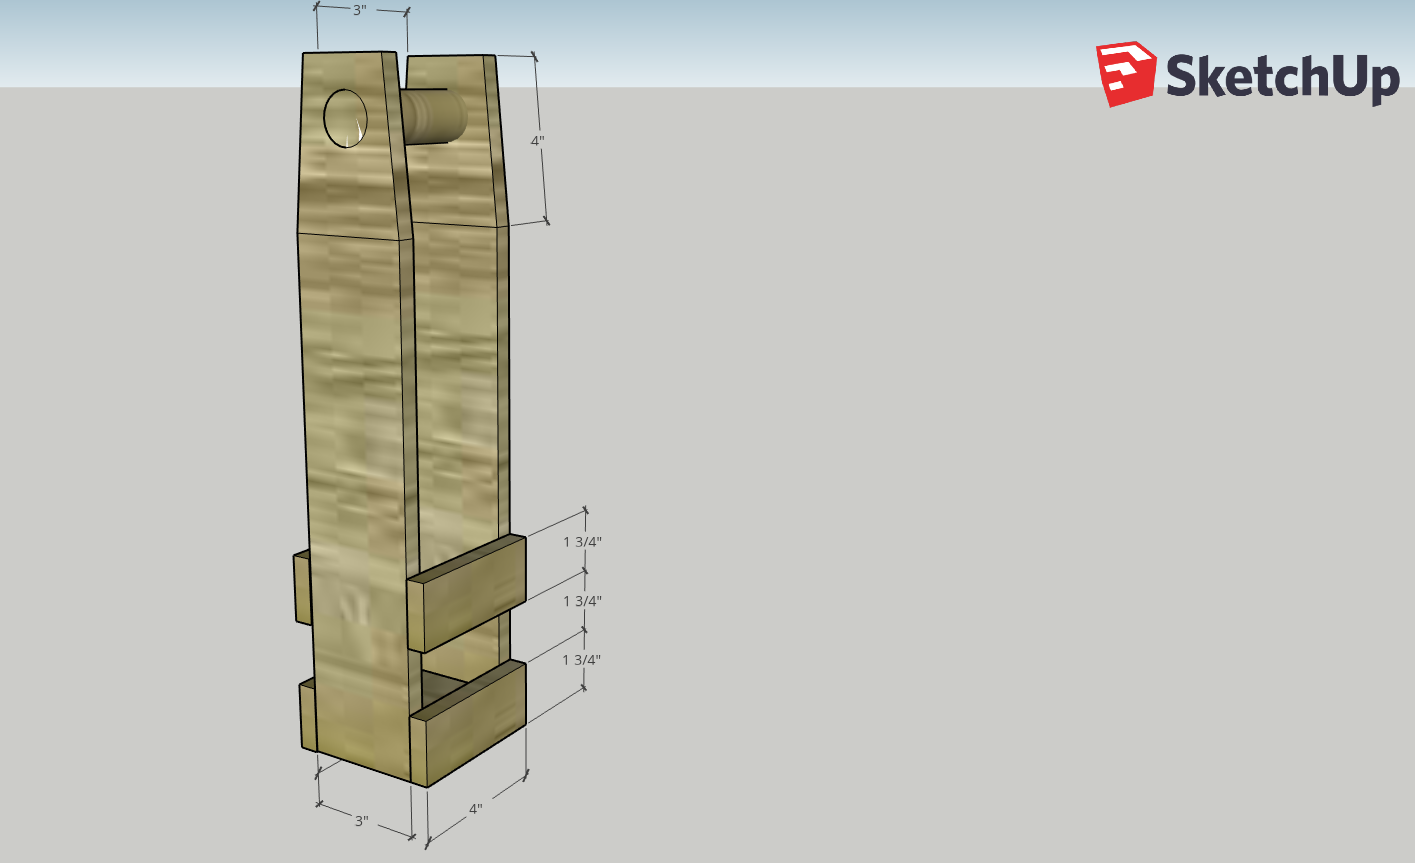
With the plan in hand we started to cutting all the pieces needed for this project.
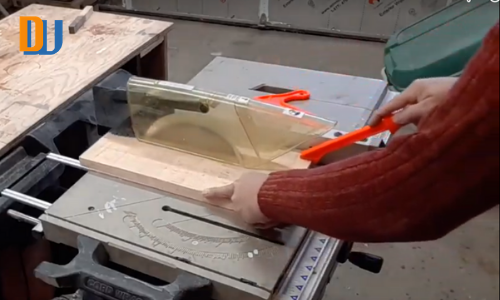
The boards cut to size we still needed to re-cut the wood to the final thickness.
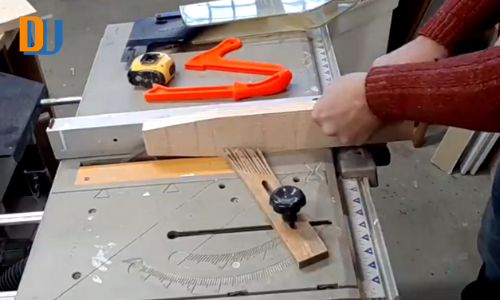
Using a table saw presents some challenges when re-sawing wood in two but with some patience and keeping your fingers far away it can be successful. Once cut on both sides it's a matter of snapping the wood in two.
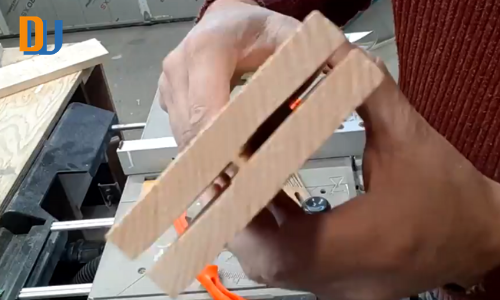
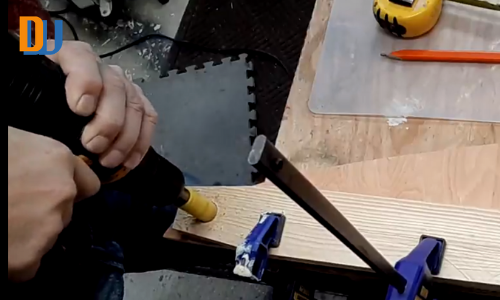
All the wood is now cut to size and re-sawed to the right thickness we can now drill the holes for the dowel handle.
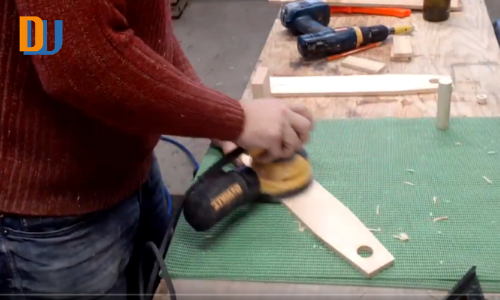
Now with all the wood cut and drilled we can do the sanding.
The best part is assembling all the pieces where can see what the whole carrier will look like.
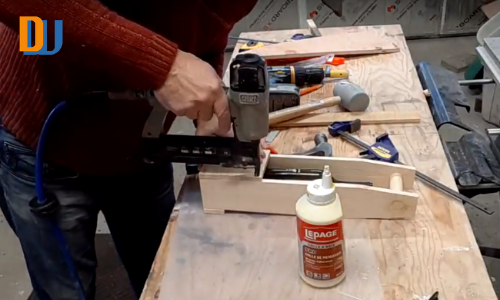
Some more sanding and touch ups then it's time for making the wood look weathered or you can use a stain or paint of your choice.
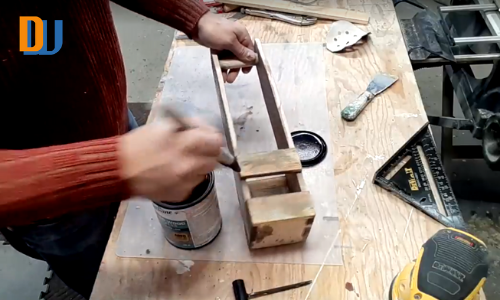
The final protective coating we used for this project is Linseed Oil as it really brings out the grain of the wood and provides a protective coating against alcohol.
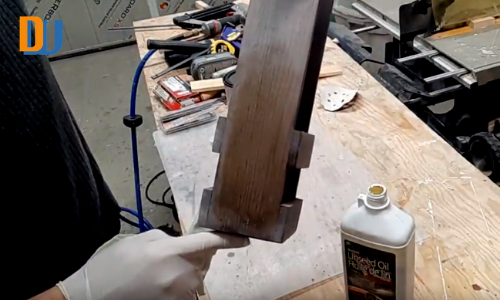
The Linseed Oil finish looks awesome for this project.
We will surely be making more of these and possibly different styles of wood wine bottle carriers bottle holders to come.
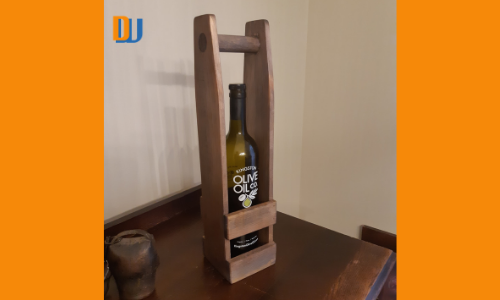
We hope the information and instructions are helpful so you can build this for yourself or give as a gift at your next family or friend's diner party.
Have a question or comment? Please leave them below we love to hear from you.
Please don't forget to share this post on your favorite social media platform and share with your family and friends.

Wow! This is beautiful! It looks easy to make, although I don’t have a workshop or many tools. I would love to have this though! Maybe I can ask a friend to make this, or he could help me make it. I’m not much of a handy woman, but I want to learn 😉 .The linseed oil gives the wood wine bottle carrier a nice finish. The wood looks so much better, and there is no need anymore to paint it. This would make an excellent gift!
It really is easy to build. We used scrap wood that was in our shop but if you bought some wood that was already 1/2″ thick you can easily make this with a handsaw, some glue, and a hammer and nails. You could make a square handle instead of round with a dowel.
We really love the Linseed oil and knowing that it is a natural finish that brings out the wood color so nicely we have no regrets 😉
Hello,
Wood wine bottle carrier seems very elegant when it comes to presenting a wine bottle. I loved reading the article. It’s a good thing to measure the bottle size and drawing the sketch according to those measurements rather than blindly following a sketch from the internet. Linseed oil seems to really bring out the grain of the wood. Could you please suggest some other types of wood we can use instead of pinewood?
It was a fun project to build as it was really fast, even if we had to design it first. The Linseed oil is really becoming our favorite wood protective coating.
You can use any type of wood you prefer. We used pine wood as it easily available in our area and one of the cheapest you can buy here. It comes available in a rough cut finish, which is cheaper and we really like how it looks for the rustic type of designs.
Pine is a softer wood as well which forgives easily. Using harder woods will require some finesse with your cuts and finishes.
Cheers
Paul
Always good to know how to make these things and I’m sure trying this out would be a good way to spend my free time when I have any. I think this bottle really looks good and even thought I’m not a drinker and only take alcohol free wine I like the idea of having one wine bottle carrier , it looks cute even despite the simplicity of the outward appearance. Great work there I’m not sure when I’ll be able to try doing it myself but I think it will be disastrous but trying never killed anyone, thanks for the article.
We hope you can take the time to try building it yourself. This is an easy to build project, especially if you buy the wood already the proper thickness of about 1/2″ thick. Then all you need to do is cut, assemble and sand. We are confident you can do it but it will take some of your time for sure.
Cheers
Paul