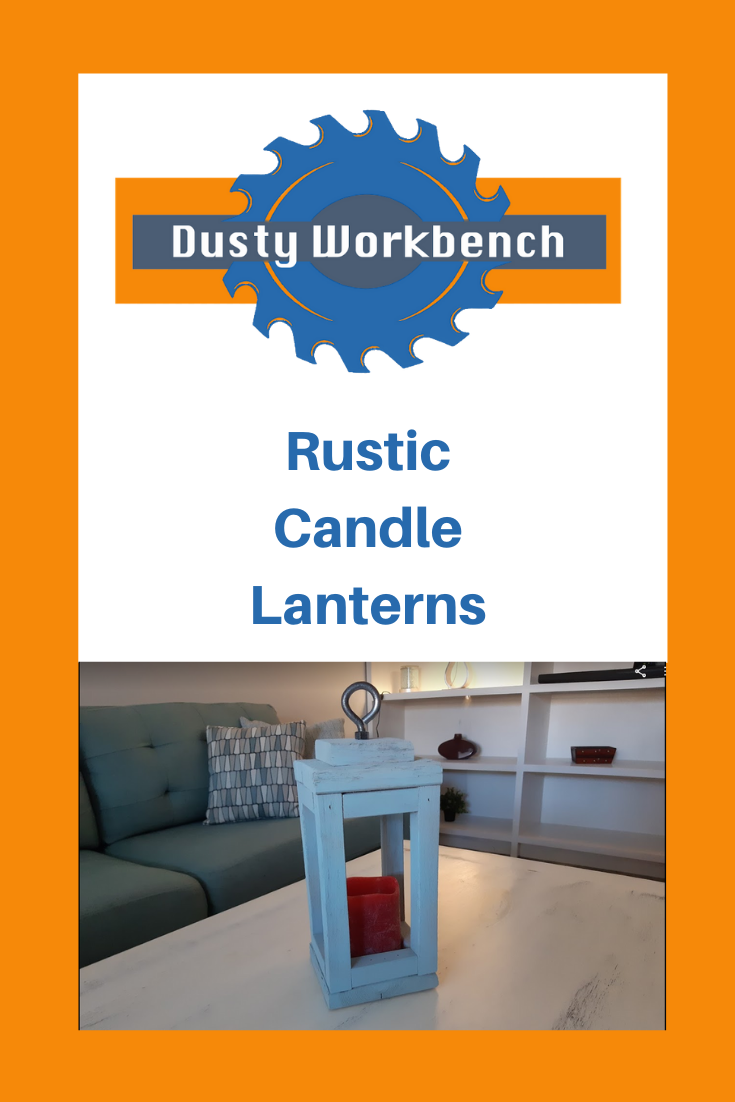
Candle lanterns are home accent decorations that can be used in any room to add some soft lighting ambiance while creating a focal point in any room.
You can place them at the entrance your home, in the foyer, on a mantle or dining room table. The placement of these lanterns in your home is almost limitless.
You can make these lanterns yourself with basic hand tools and use scrap wood lying around your shop with a few cuts and some paint or stain to finish them.
We used reclaimed cedar wood from an old deck for some of them and some leftover rough pine from another project for another.
They all turned out really awesome looking.
It's hard for us to let them go when they have a style that we really like but we are trying to create a home-based business so we do need to sell them.
The build difficulty for this build would be on the easier end of the scale. As we mentioned before you can build these wood lanterns with scrap wood and basic hand tools.
In the interest of time to build, we did use power tools to complete this batch.
If you like to have one of these but don't want the hassle to build them yourself then be sure to contact us here and we can look at building one or more for you.
Below you will find the steps we took to build these but keep in mind that the dimensions are only a guide as you can build them pretty much any size you want and maybe adjust the size depending on the type of wood you are using.
Here's a video to show you some steps we took to build these wood candle lanterns.
How We Built It
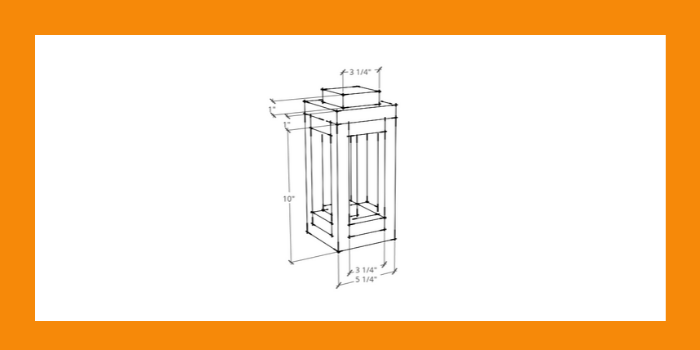
Design and Dimensions
Preparation
Shopping List
- 1 - 1" x 6" x 26" We used rough pine wood for some and reclaimed cedar for others. You can adjust your measurements and type of wood as you wish.
- Handle hardware. We used a 3/8" x 2" Eye-bolt as our handle but you can use wire, twine or anything else you may think of.
Note: Lumber size listed here is in actual size. Learn more about Nominal vs. Actual sizes here.
Materials
- Wood or choice. We used Rough Pine and Reclaimed Cedar Boards.
- Nails or brad nails
- Wood Glue
- Sand Paper
- Chalk Paint or any Wood Finish of your choice
Tools
Must Have Tools
- Safety Glasses
- Ear Protection
- Dust Mask
- Sandpaper
- Drill
- Tape Measure
- Square
- Hammer
- Circular Saw
- Paint Brush
Advanced Tools
- Compound/Miter Saw
- Table Saw
- Drill bit
- Dowel Jig
- Impact Drill
- Orbital Sander
- HVLP Paint Sprayer
- Joiner
- Planer
- Brad nailer
Cut List
- Top and Bottom
- 2 - 1" x 5 1/4" x 5 1/4"
- Sides
- 4 - 1" x 1" x 9"
- Rails
- 8 - 1" x 1" x 3 1/4"
- Tapered Top
- 1 - 1" x 3 1/4" x 3 1/4"
Steps To Building This Wood Box Centerpiece
Let's start by looking at our design.
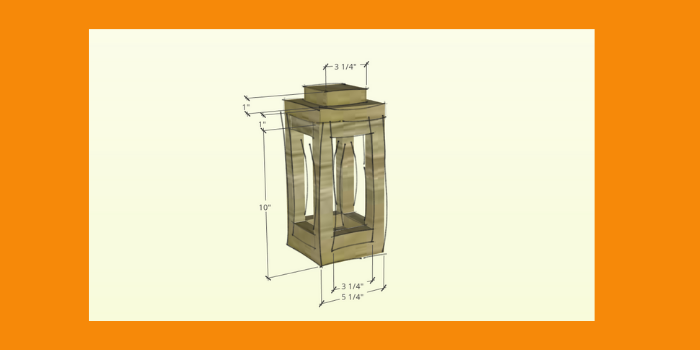
It is important to remember that you can modify the size of this lantern to fit in your home design.
We went with the size shown below based on some scrap wood pieces for the base and top we found in our workshop.
We then used the Fibonacci sequence or the Golden Ratio, Phi to calculate the height of the sides.
Seeing that the base and top pieces were 5 1/4". We multiply that by 1.618 = 8 1/2 but we rounded it off to 9" as we had found some pieces already cut to that length.
We dry held the pieces together and it all looks pleasing to the eye and the base was also the perfect size to hold a common 2 1/2" sized candle.
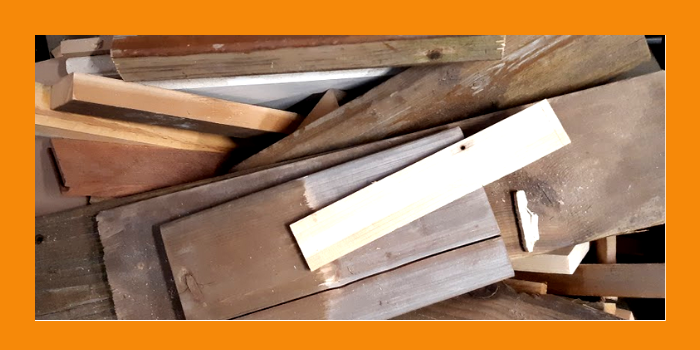
We used scrap wood from the pile shown below but you can certainly start with nice new boards.
Then it's time to cut the wood into the dimensions needed to build the lanterns. When making multiple units it helps to cut all the same size pieces for all your units at the same time while you have the stoppers or guides in place.

Once all the pieces are cut we can now start dry fitting to make sure it looks the way we expect it to look.
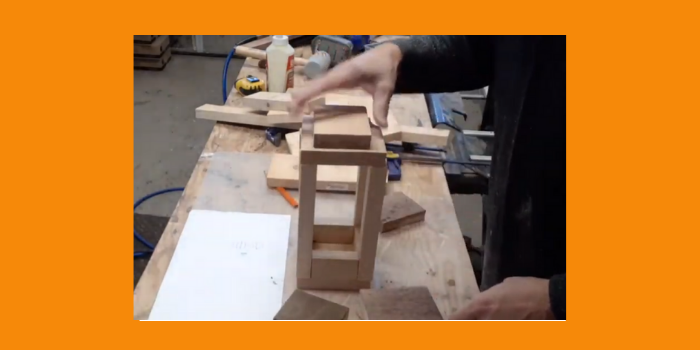
Of course, it turned out exactly what we were hoping.
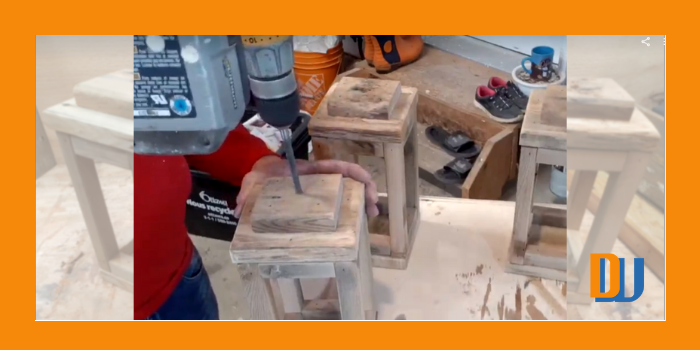
Now it's time to make it permanent. We did a little sanding to clean up the rough stuff but not too much as we want to still look rustic. We'll do more sanding once it is completely assembled.
We used a combination of wood glue and brad nails to assemble the lanterns.
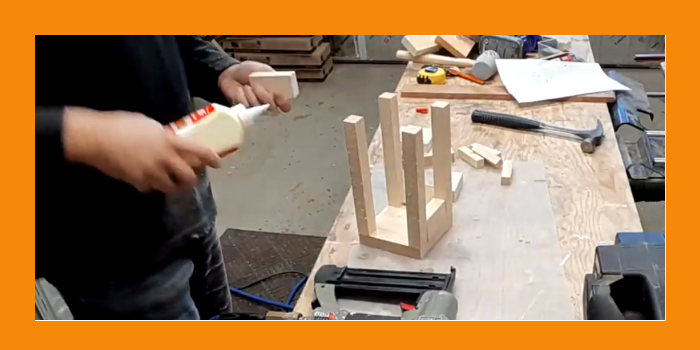
Now that the lanterns were assembled we can start sanding them to be ready for their final finish.
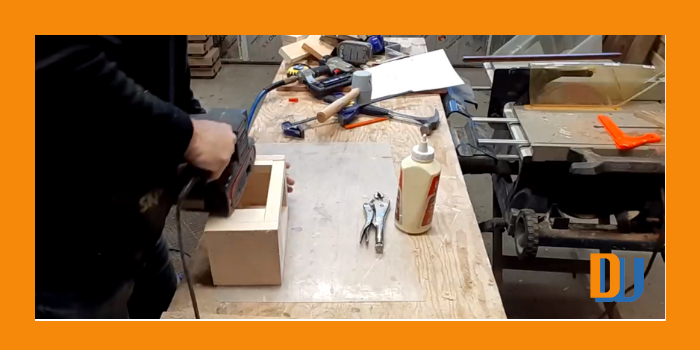
We assembled all of our pieces to make our lanterns. Here are a few that we made.
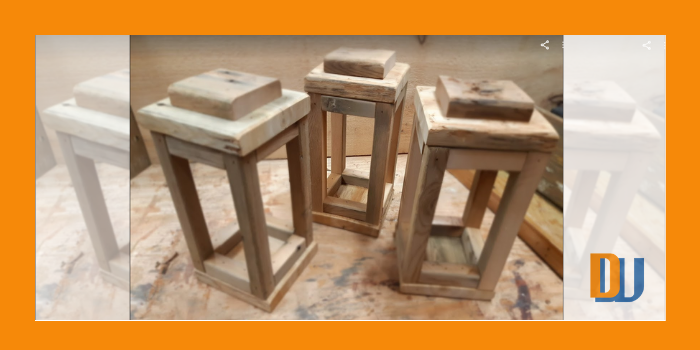
We can't forget to add handles or hooks to the top.
We decided to use 3/8" eye-bolts as the handles. They are inexpensive, easy to install, and strong.
Now we can start adding our choice of finishes. We decided to use chalk paint for these to add a punch of color.
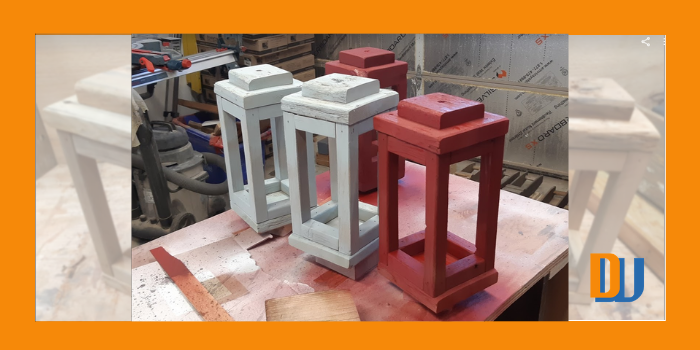
The final touch of adding the Eye-bolt handle and clear protective finish and we had our completed project.

Please let us know what you think. Is this something you would make? Would you suggest a different color or style?
Please comment below or if you have any questions about this project we would love to hear from you.

Rustic candle lanterns is a very ancient form of lightning that is still seen in market up till date because of its beautifying features. I could remember my mom’s, she used scented candles so it’s always very pleasing to have the lantern lit and it also provides a slight lightening in the room. Thanks for showing the directions for making it, I think I’ll just go with burning one because of the comfort of time. Thanks.
Thanks.
This is a very basic look of a lantern and is mainly used using the new LED lights but still have rustic look that is still a very prominent style used in many homes. Enjoy your scented candle. 😉
Cheers
Paul
This is a beautiful masterpiece and the appearance seems really good. Well! I never would have thought the process of building could be this much simple and probably a DIY approach. However, building a rustic candle lantern is interesting and would be worth trying out. Thumbs up for sharing here.
This type of project is definitely on the easy end of the scale. You can build this using a handsaw, hammer, and some sandpaper.
Good Luck
Paul
For people who’d love to have that ancient home look, rustic candle lantern is very good, I personally have about 3 in my house, one in our matrimonial room, one in the sitting room, and the last one in my library. It’s so nice of you to add the detailed procedures for building it from the scratch, I’ll definitely try to make one soon. It’s nice that you shared this useful article.
It was really fun making these from scrap and reclaimed wood we had lying around in our workshop. I hope you get around to building your own and please send us a picture of your rustic candle lantern.
Cheers
Paul
I like that you talked about how the lanterns should be modified to the size that fits the home's design. I guess I should talk to professionals instead to have an outdoor candle lantern made for my home. Actually, I need a couple of them to decorate my home for the Halloween season to make my kids excited for the occasion.
They make a great addition to decorating the home for the fall season.
Thanks so much for talking about how functional and aesthetically pleasing candle lanterns are. I've been wanting to decorate a few rooms with that kind of vibe in our new house so I've been looking into candle lanterns. I want to try to find a place I can buy them from though so they can all have a uniform and sophisticated look.